The 2m J-pole, in particular one made out of copper tubing, is amazingly popular among the amateur radio communities. Ease of construction, especially for beginners is probably the prime reason for its popularity. For the same reaoson, it was the first antenna I have ever built.
Plans for building the J-pole are all over the internet; for my build, I took references from these articles[1] [2] [3]. This blog post serves purely as a journal of my own build.
Dimensions
For dimensions I used MOUKD's J-pole calculator. The target frequency was 146Mhz, which is the middle for the 144-146 Mhz amateur band. This yields the following dimensions:
| M0UKD | Description | length |
|---|---|---|
| A | Three quarter Main radiator | 147.9cm |
| C | Quarter wave matching stub | 49.3cm |
| D | Feedpoint location | 4.9cm |
| F | Stub spacing (not critical) | 4.5cm |
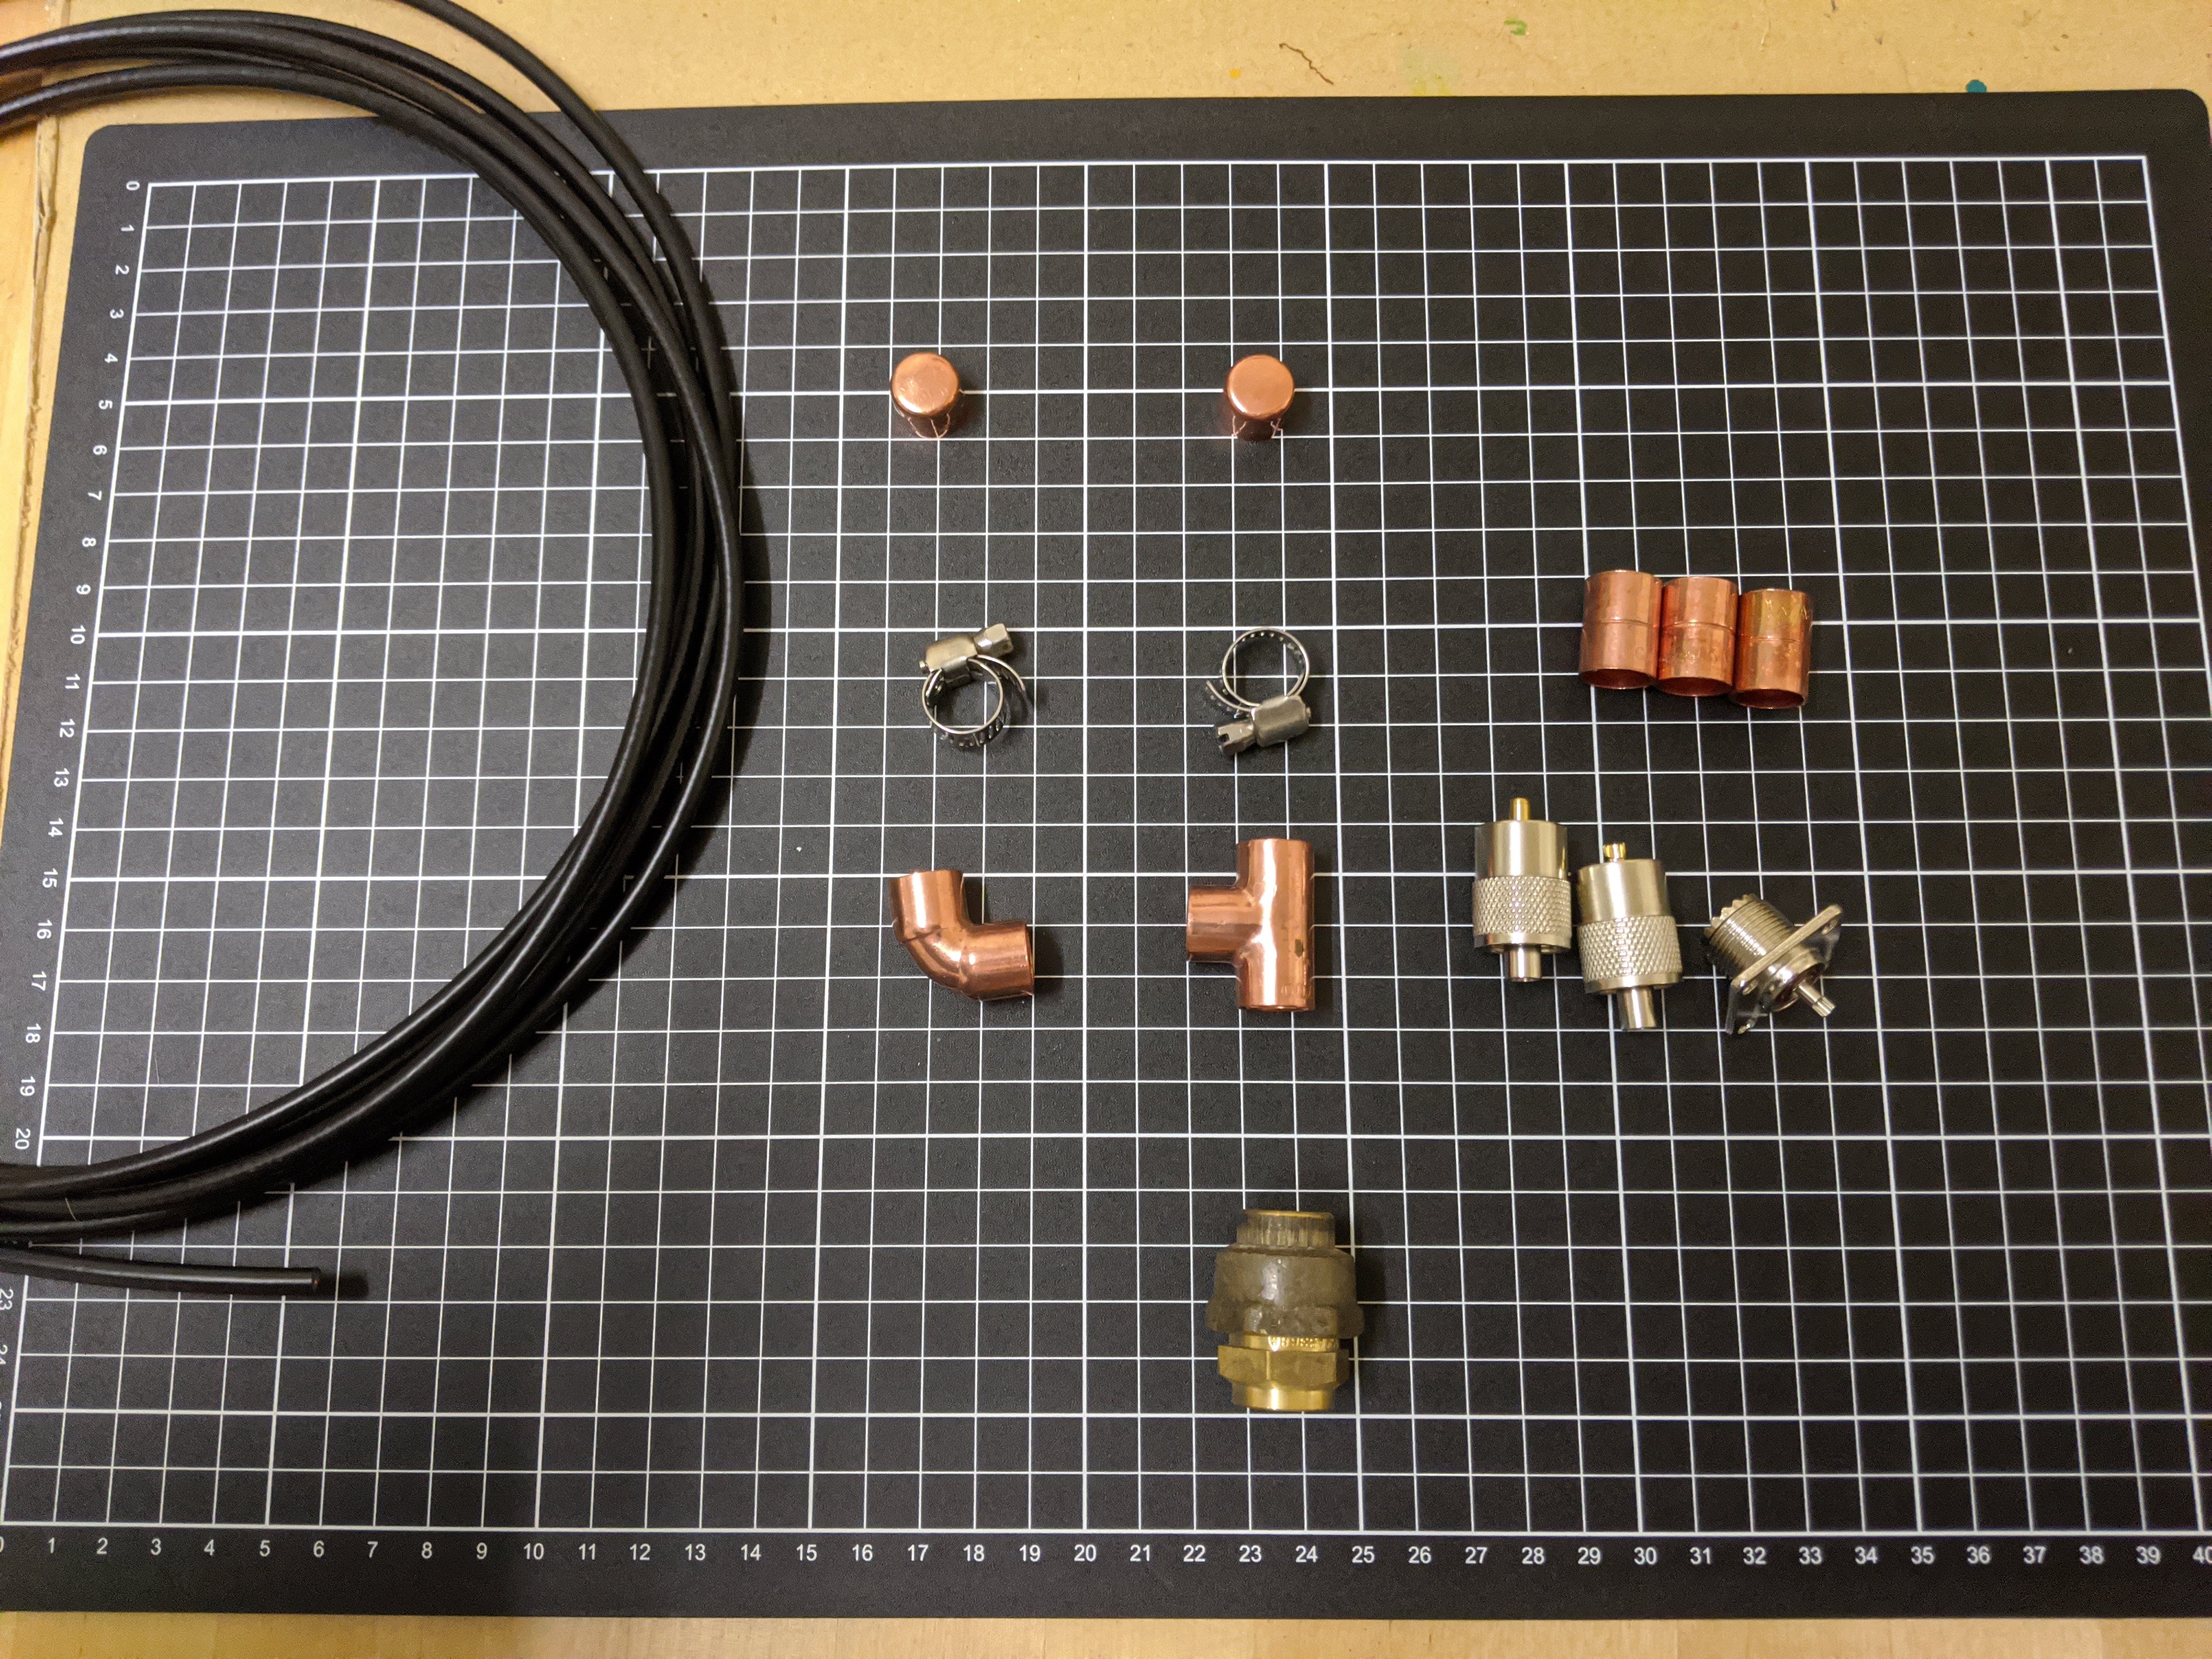
The Parts
All parts for the construction of the antenna itself are sourced from Bunnings. I sourced RG58 coax and Pl-259 plugs from Jaycar, which is notorious for its bad quality (for this reason, I might replace them in the future, but they get things going for my first build). The coax will be winded 5 turns at 5" diameter to serve as a choke as well as the antenna's feeder.
| Part | Source | Price[4] | Amount |
|---|---|---|---|
| Kembla 1/2" x 1.5m Copper Straight Length | Bunnings | $12.1 | 2 |
| Kinetic 15mm 90 Degrees Copper Capillary Elbow | Bunnings | $2.05 | 1 |
| Kinetic 15 x 15 x 15mm Copper Capillary Tee | Bunnings | $1.3 | |
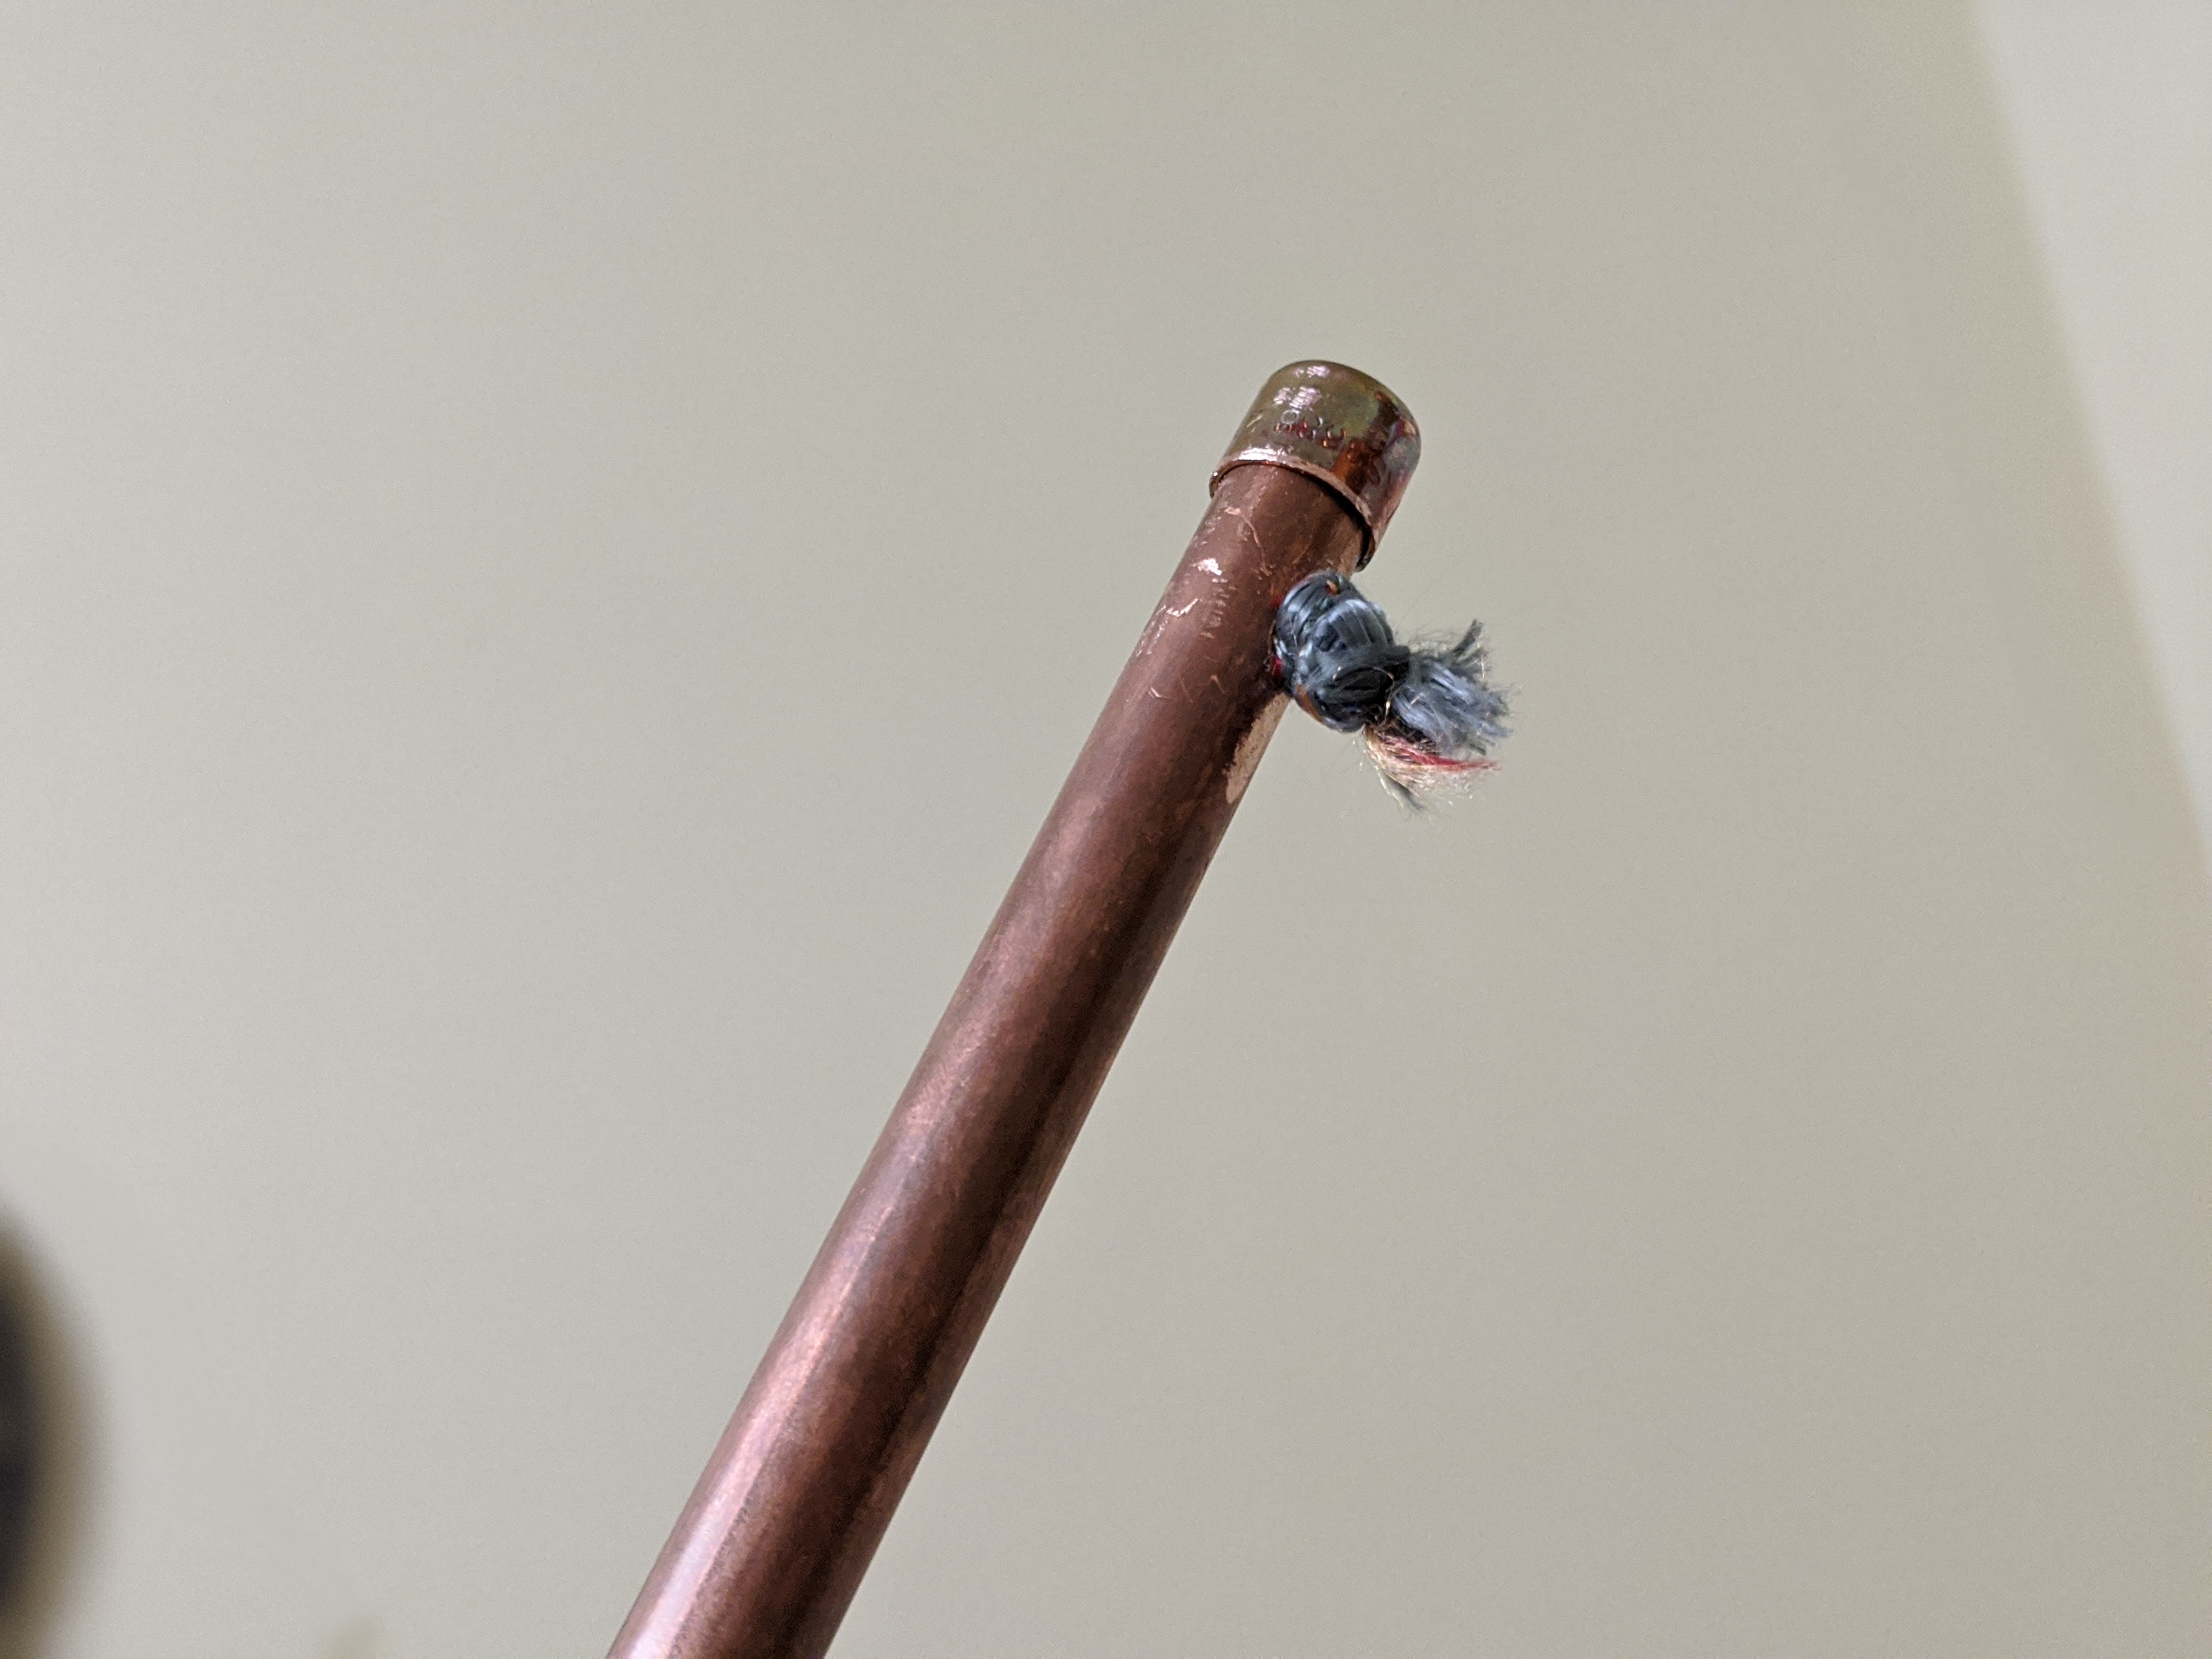
| Kinetic 15mm Copper Capillary End Cap | Bunnings | $1.5 | 2 |
| Kinetic 6-16mm 304 Stainless Steel Hose Clamp | Bunnings | $0.85 | 3 |
| PL-259 plug | --- | --- | 1 |
| RG58U Coax | --- | --- | 1.5m |
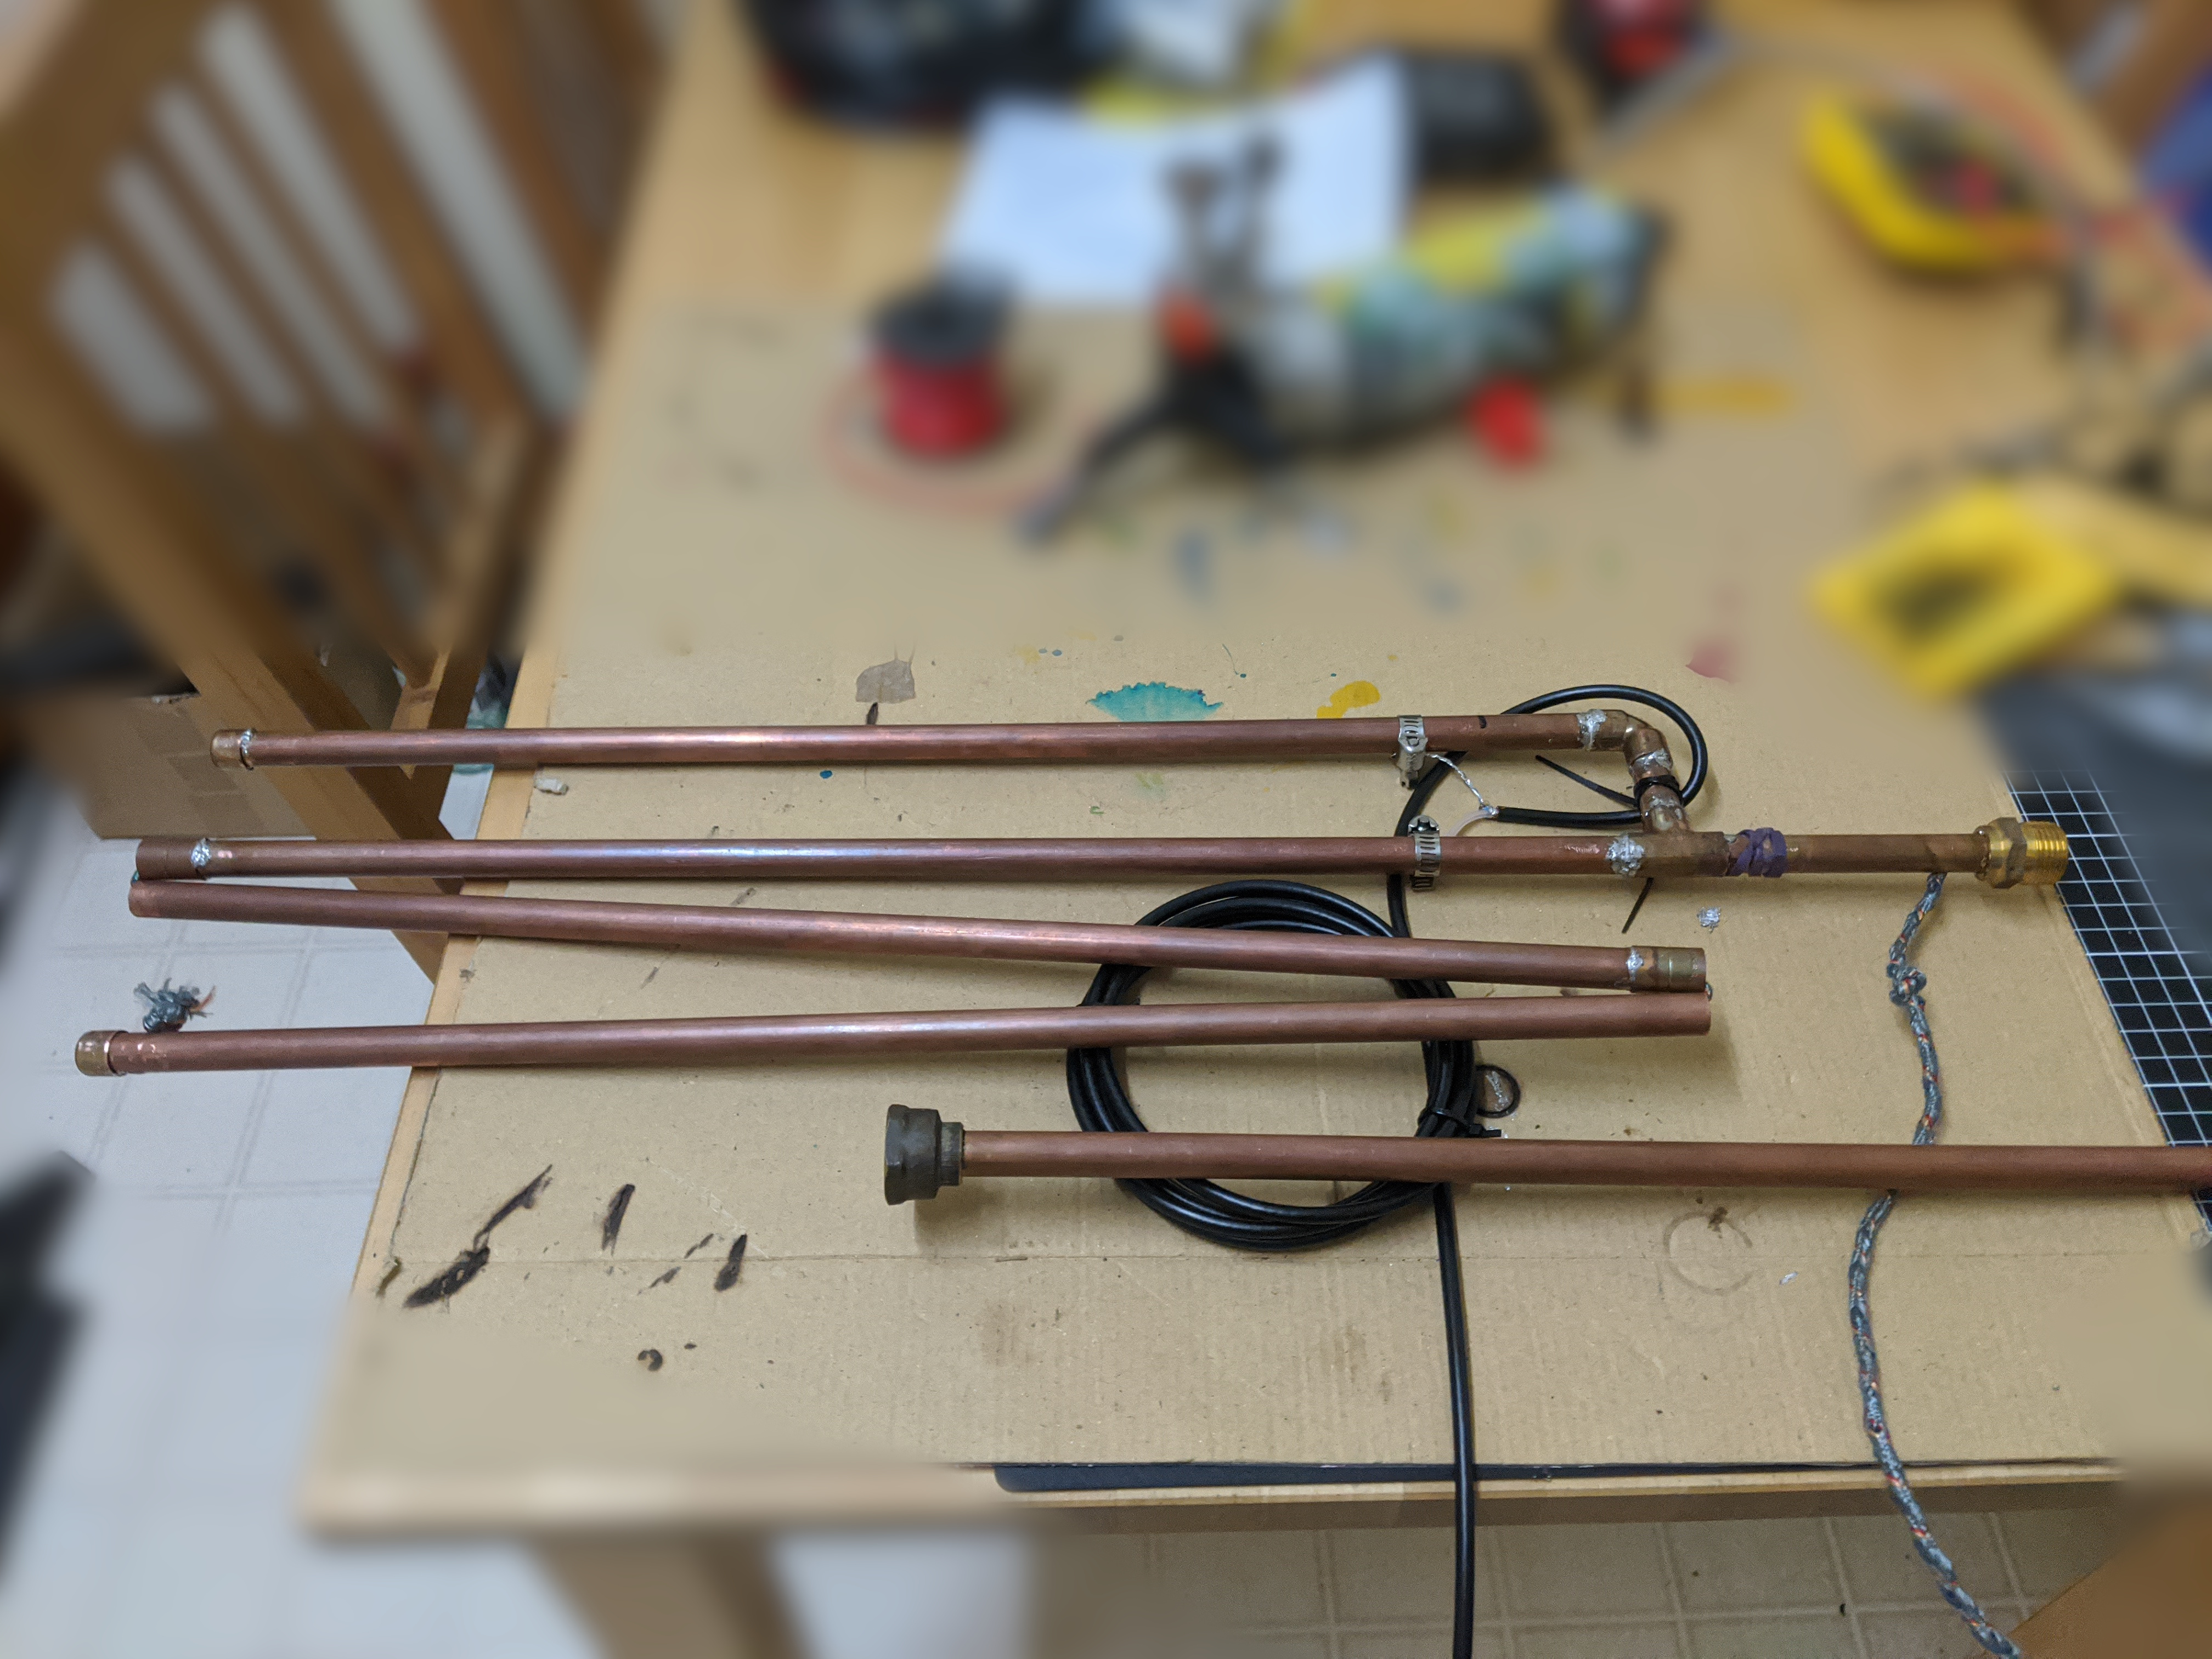
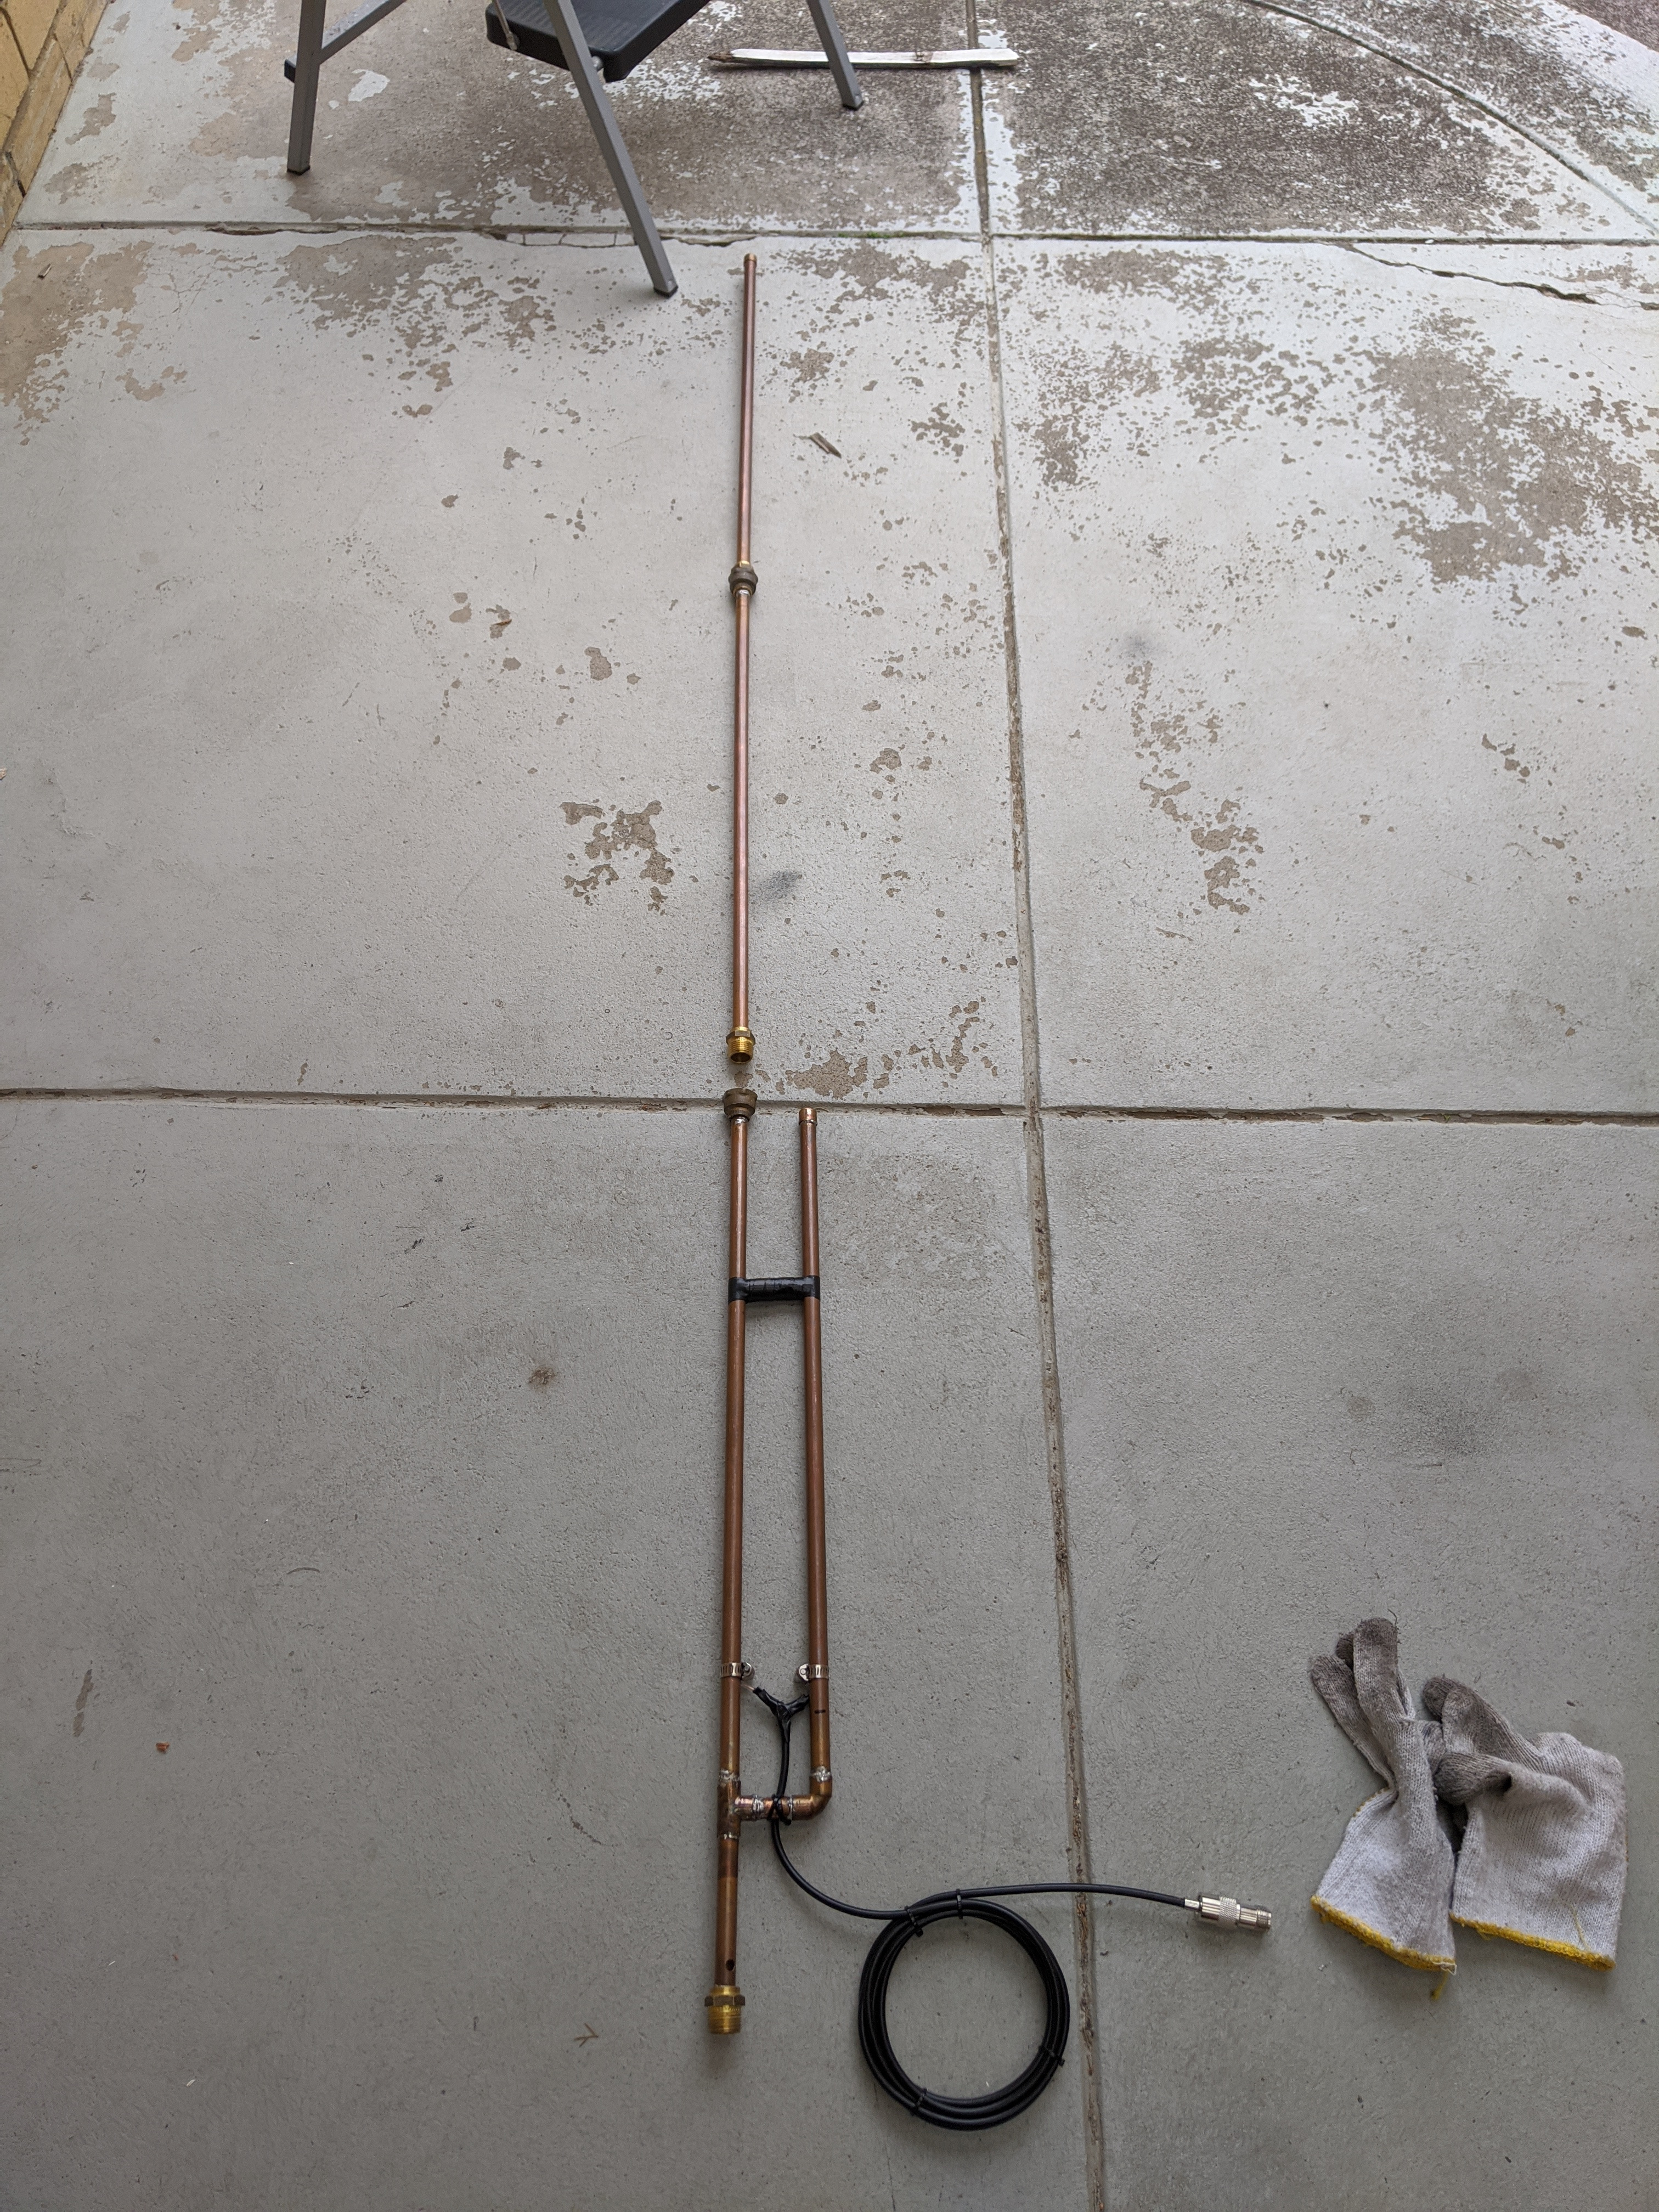
Optionally I later decided to split the main radiating stub into 3 sections, and use pairs of male and female brass connectors as joints, for ease of dissembly and transportaiton/storage.
| Part | Source | Price[4:1] | Amount |
|---|---|---|---|
| Kinetic 15CX x 15FI Brass Capillary Female Connector | Bunnings | $1.85 | 3 |
| Kinetic 15CX x 15MI Male Connector Brass Capillary | Bunnings | $1.55 | 3 |
Parts before construction:
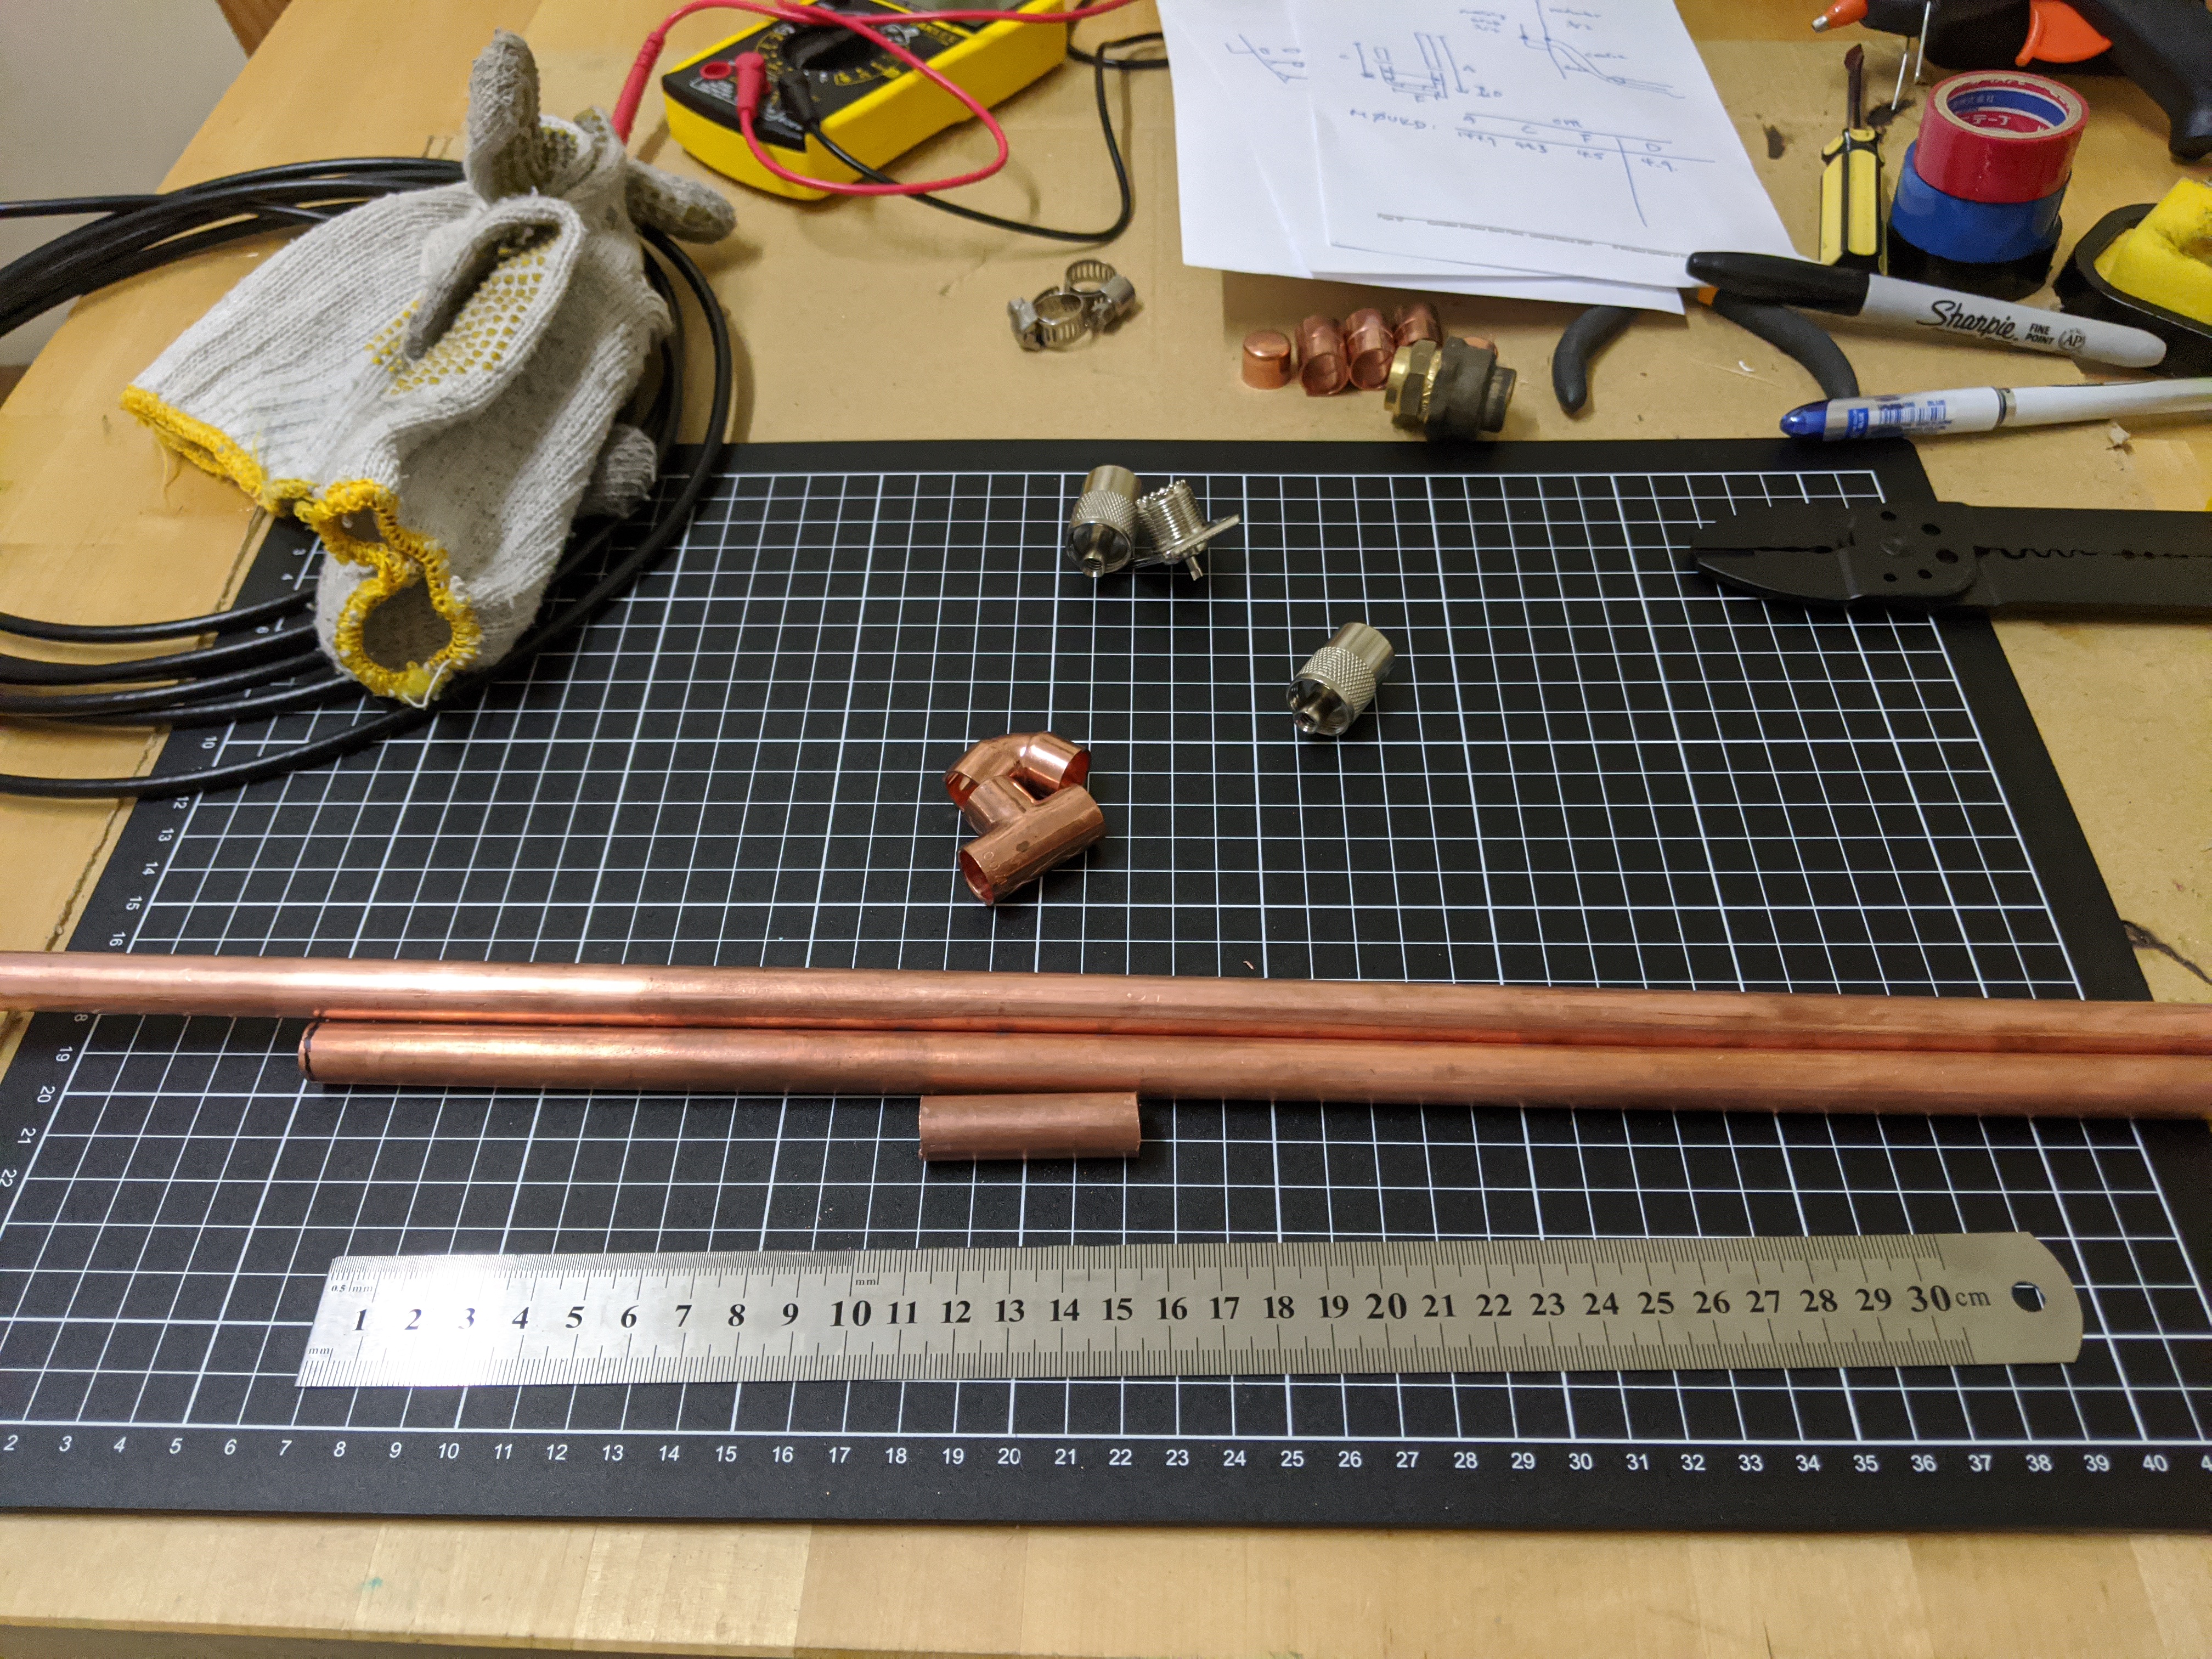
First build
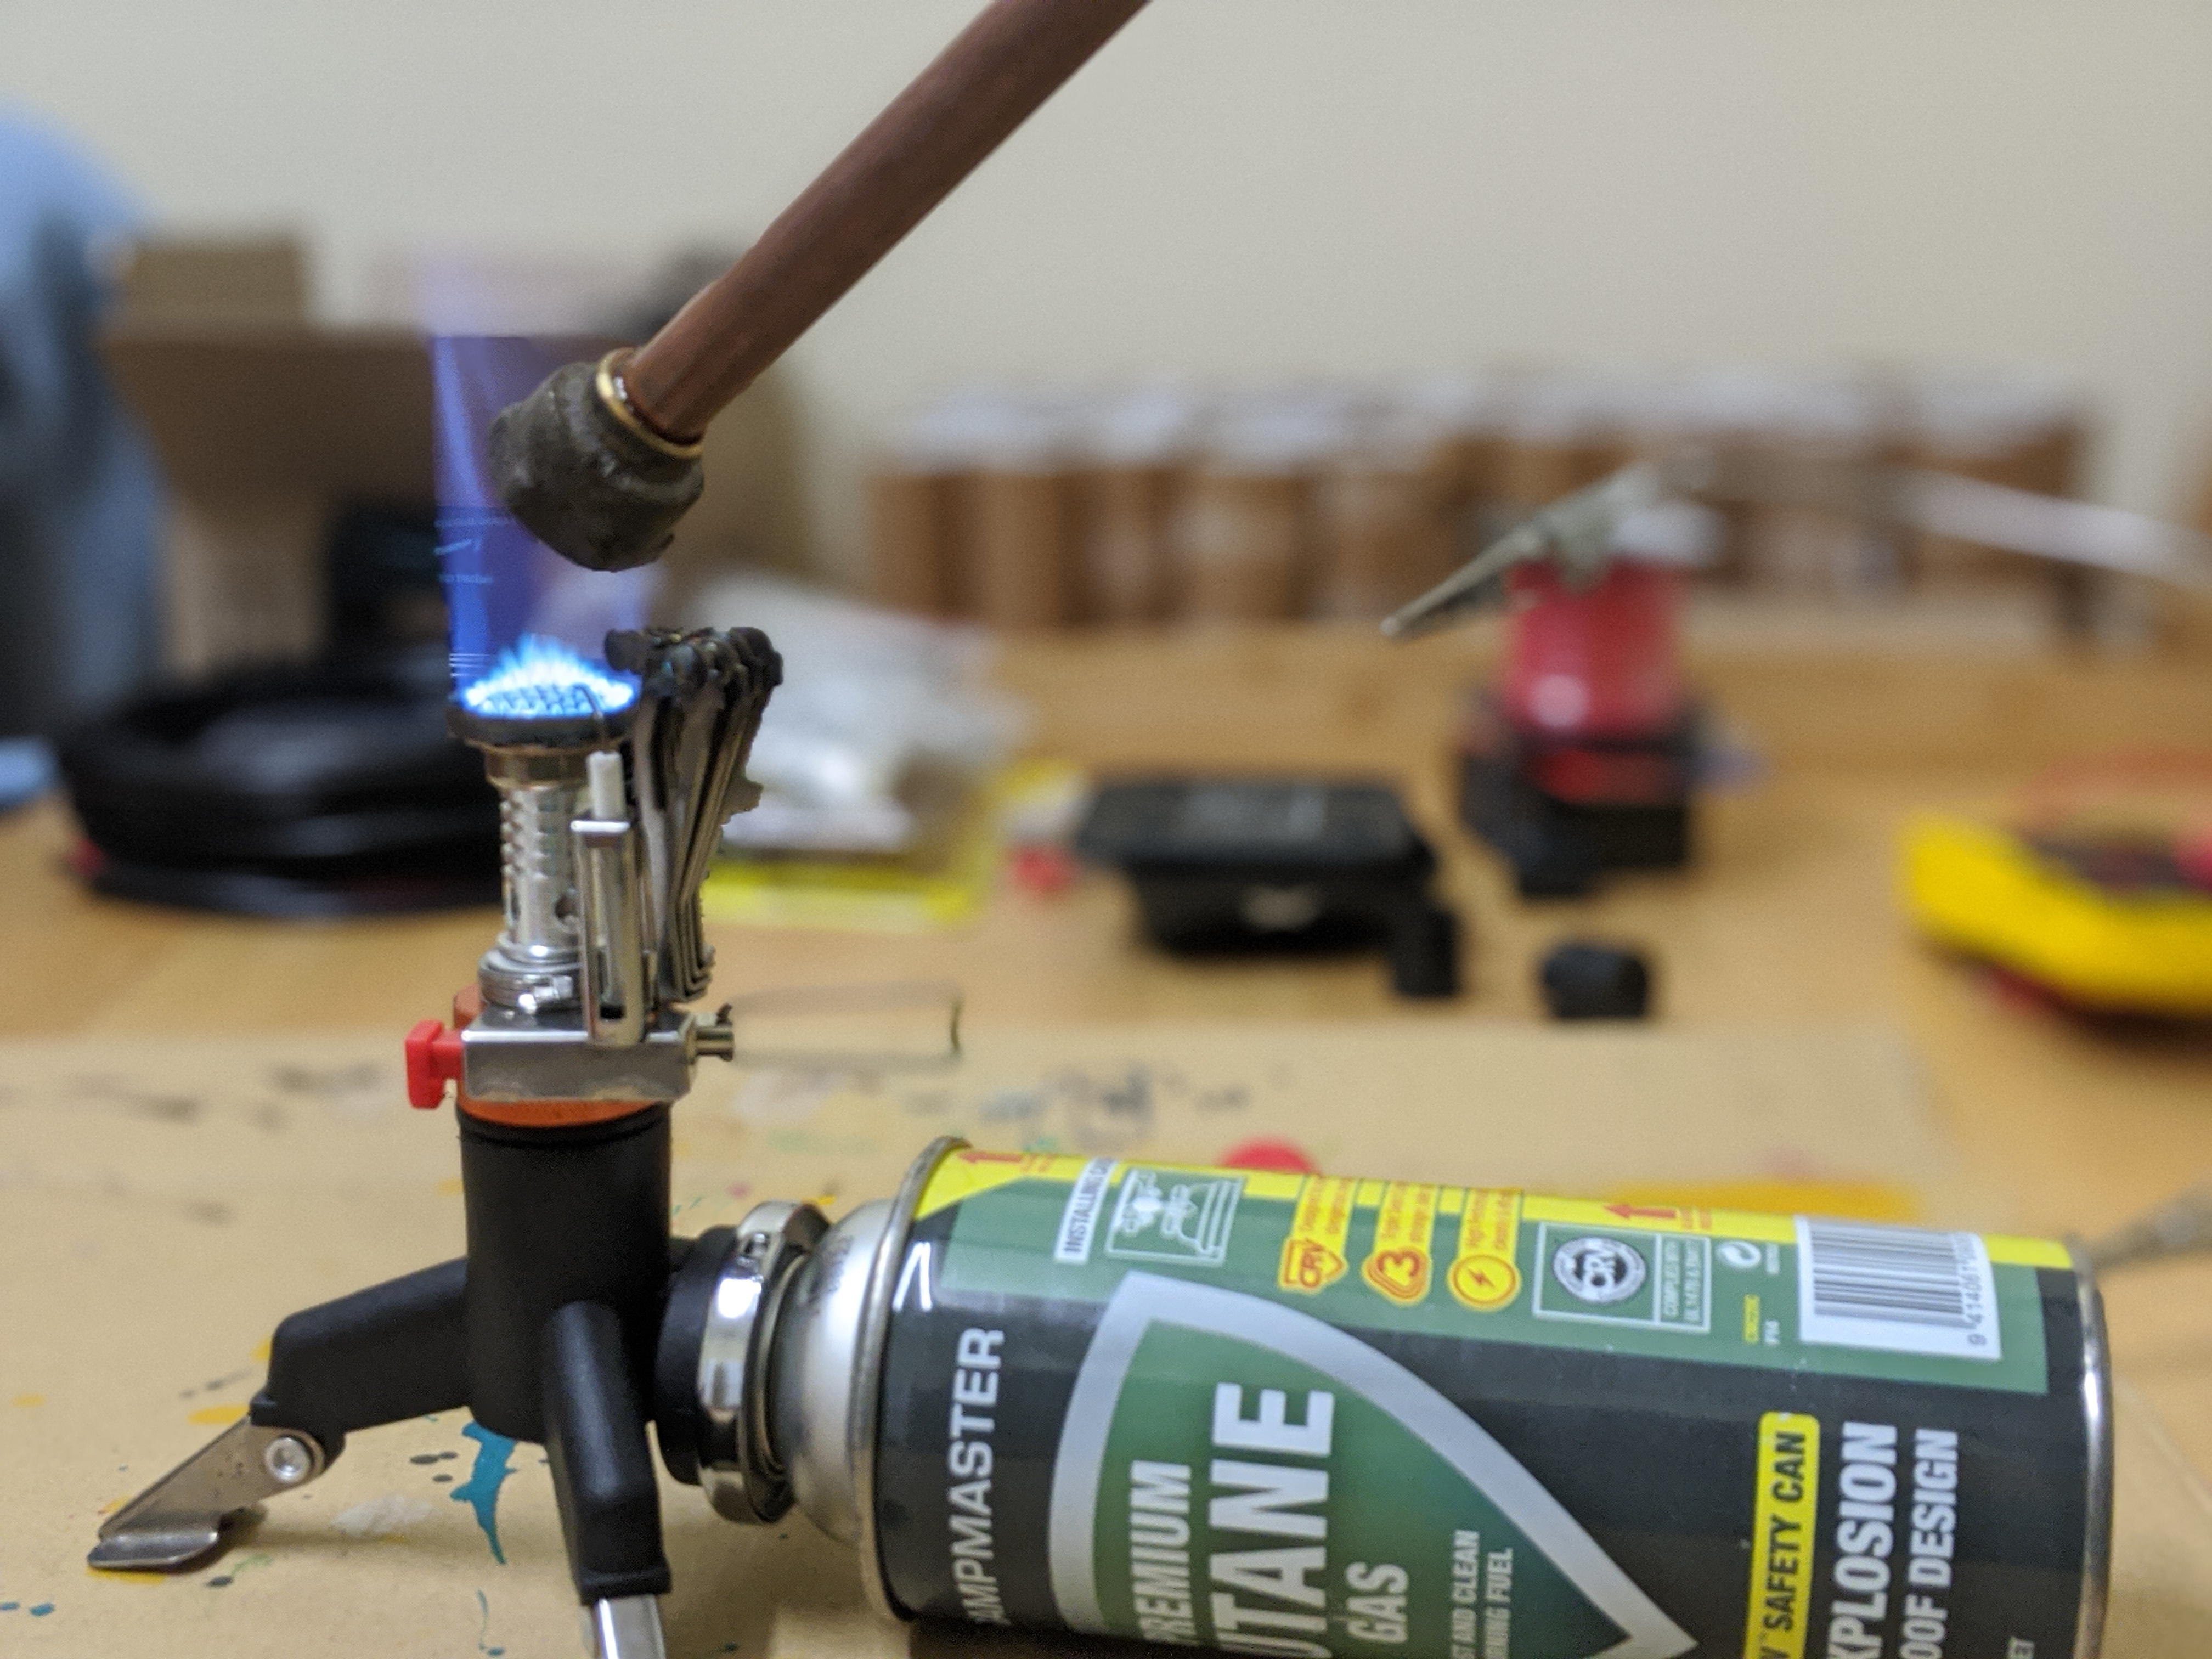
Construction is relatively easy requiring just basic DIY knowledge and tools. Ideally I should have used a blow torch for the soldering, but a butane camping stove might have just done the job as well. I should definitely have used the butane stove outdoor, but it was autumn/winter during my build, meaning it was rather chilly outdoor after dark... you know.
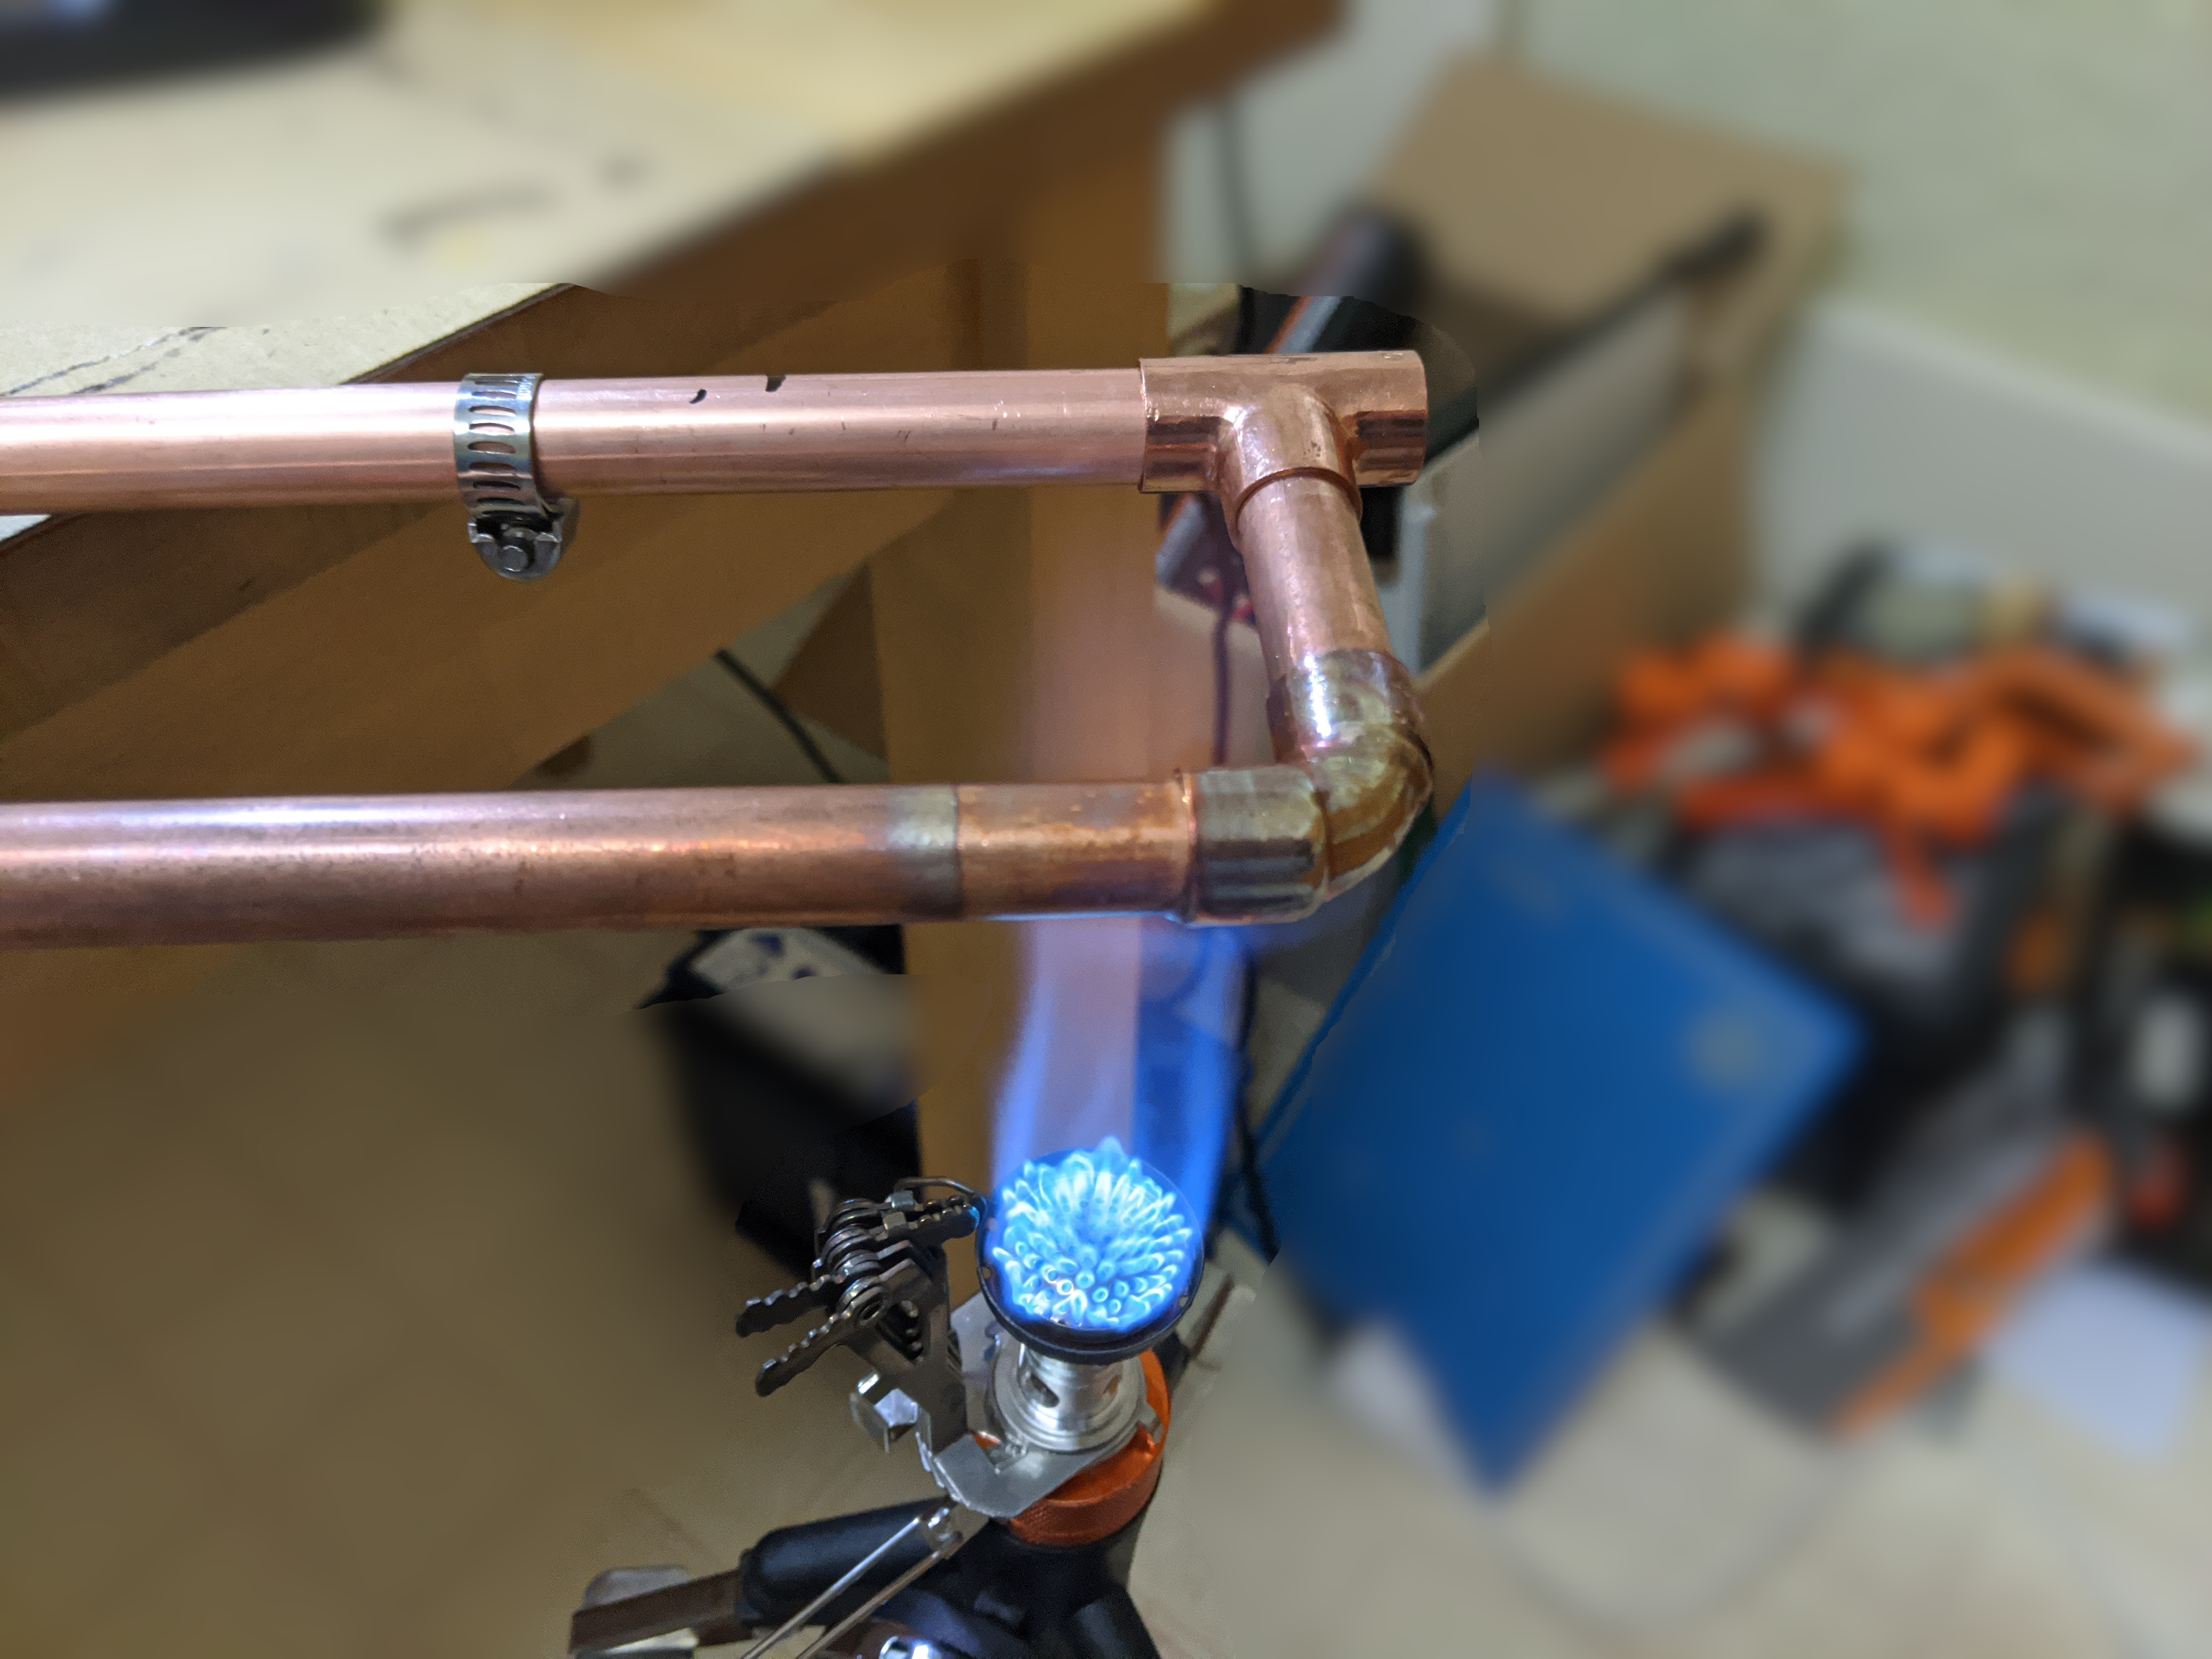
Also borrowing the idea from N6JSX[2:1], I split the main radiating stub into three sections and used straight brass connetors to join them (later replaced with brass screw connectors for better stability), and ran an retired camping guy rope through the three splits. This keeps the splits together during transporation, while hopefully should also provide some extra structural safety, in case the stubs become loose when mounted (although the chance should be remote).

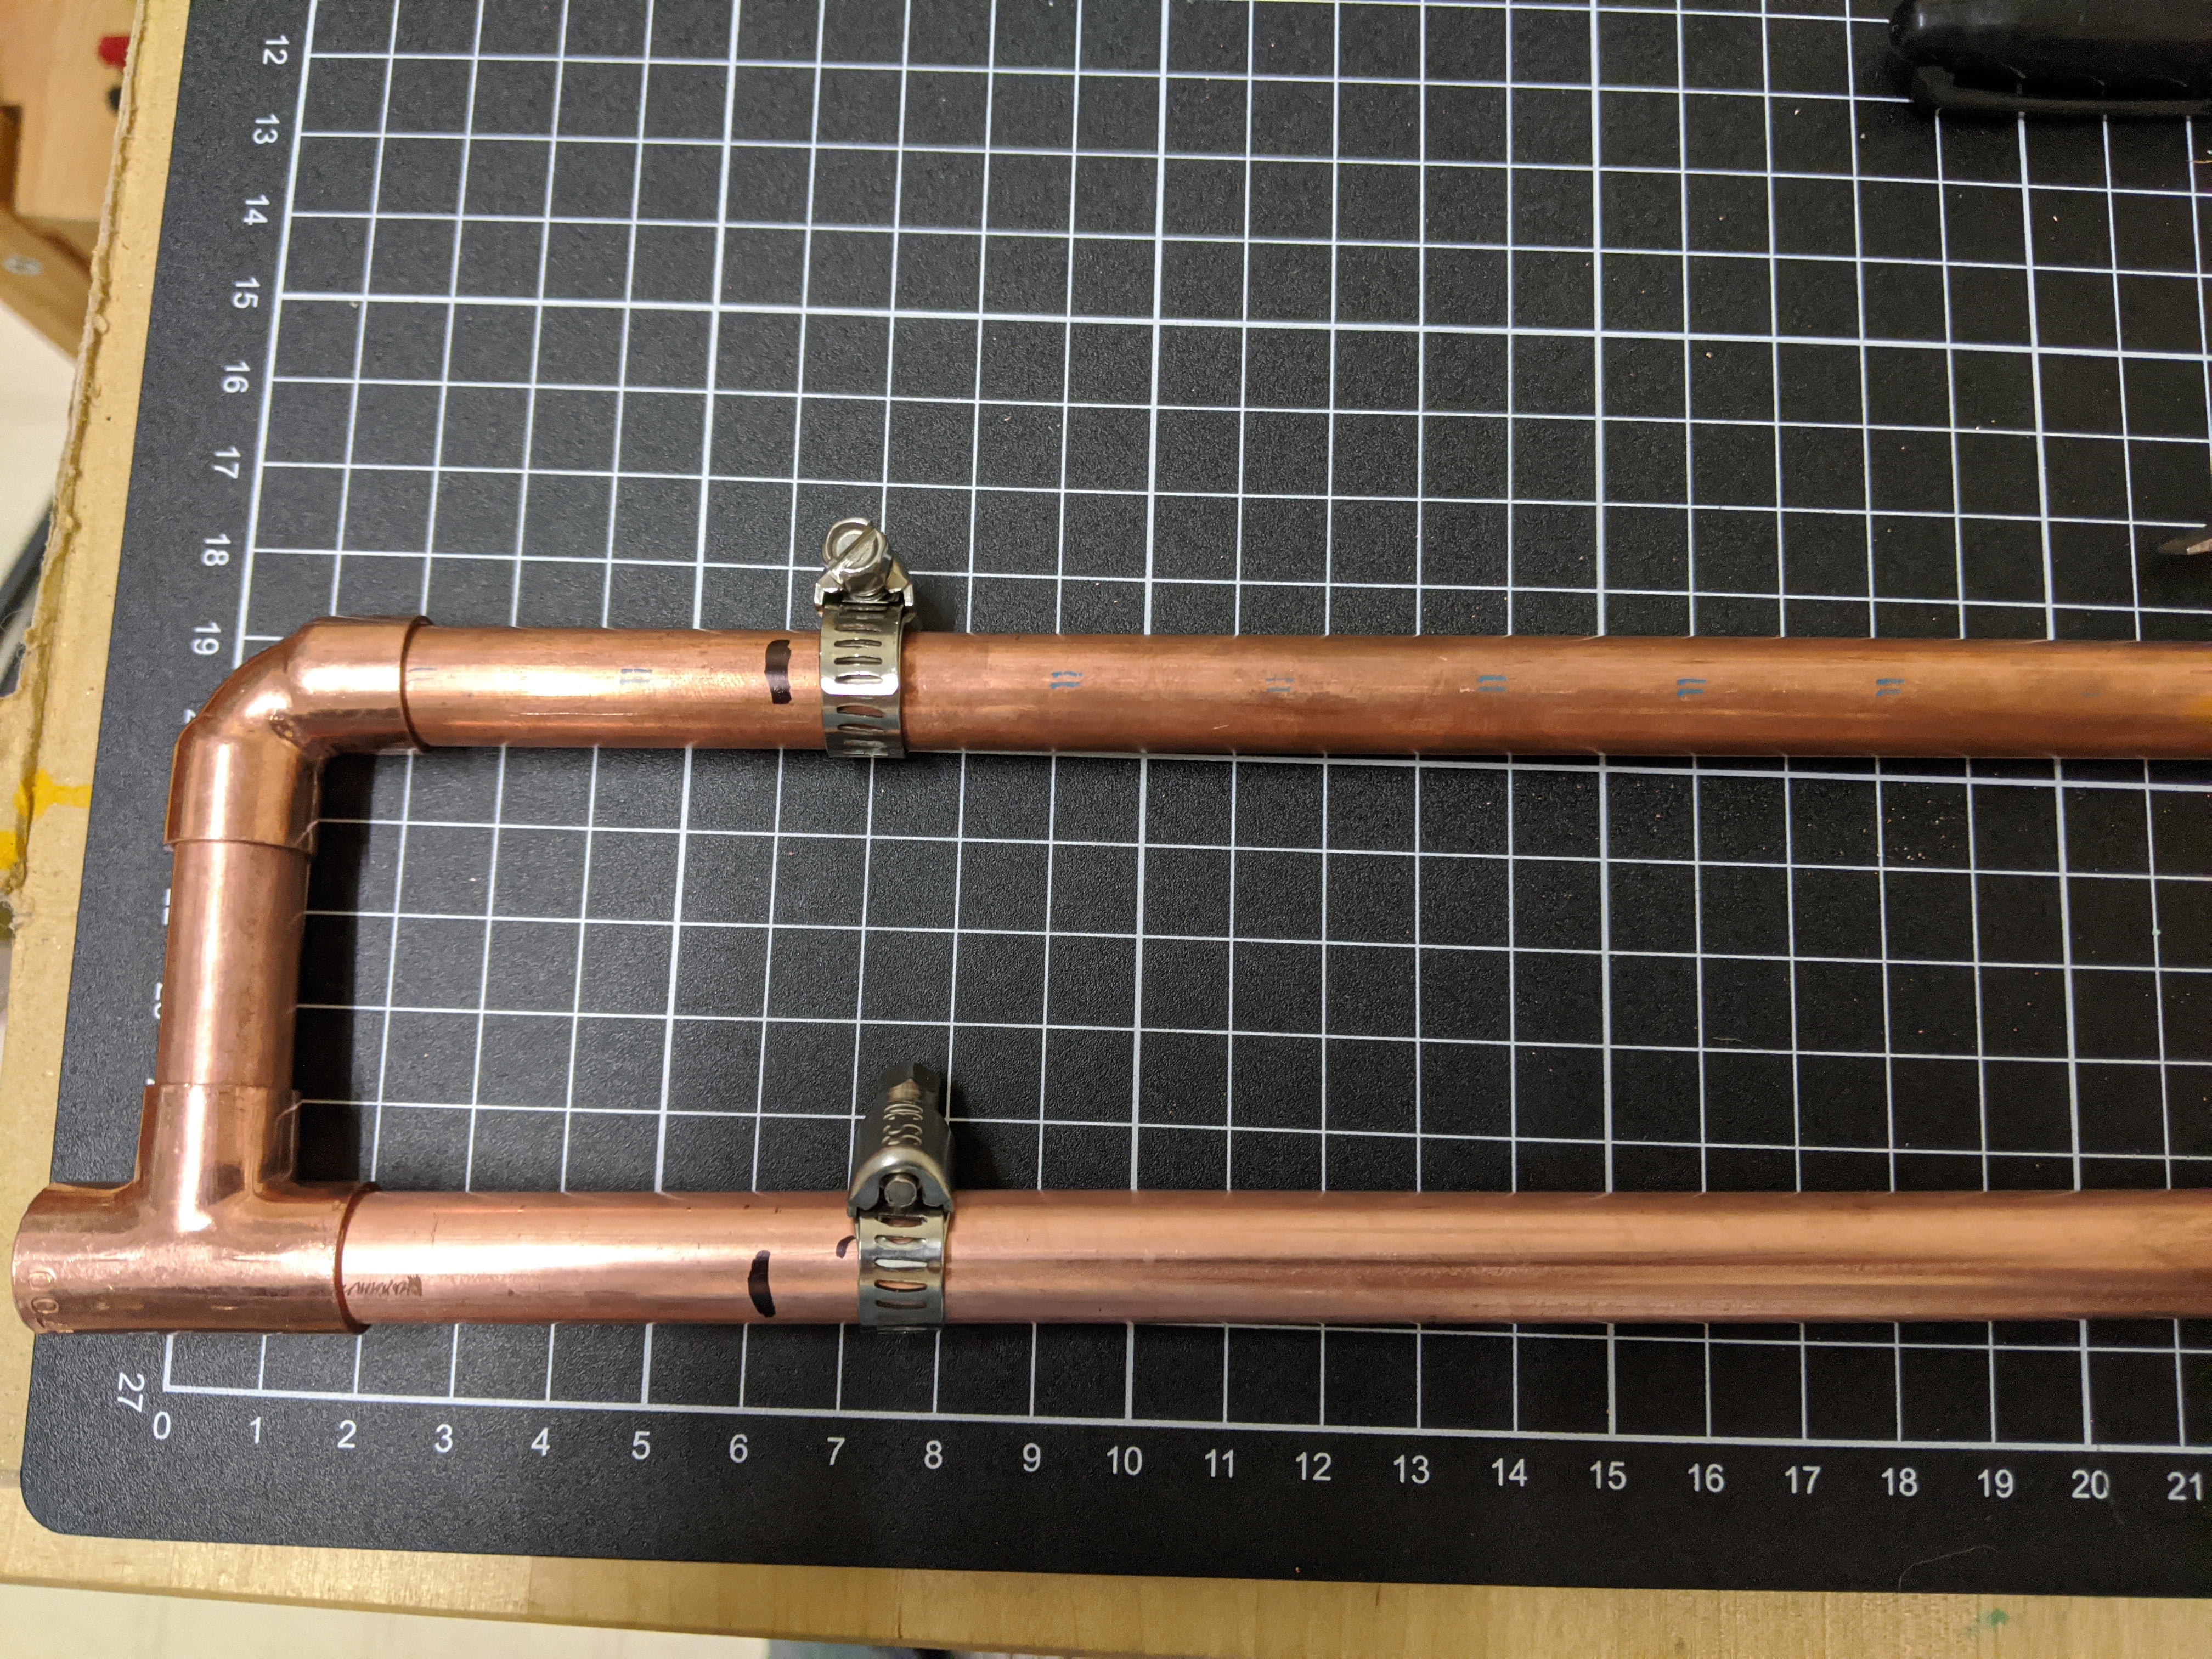
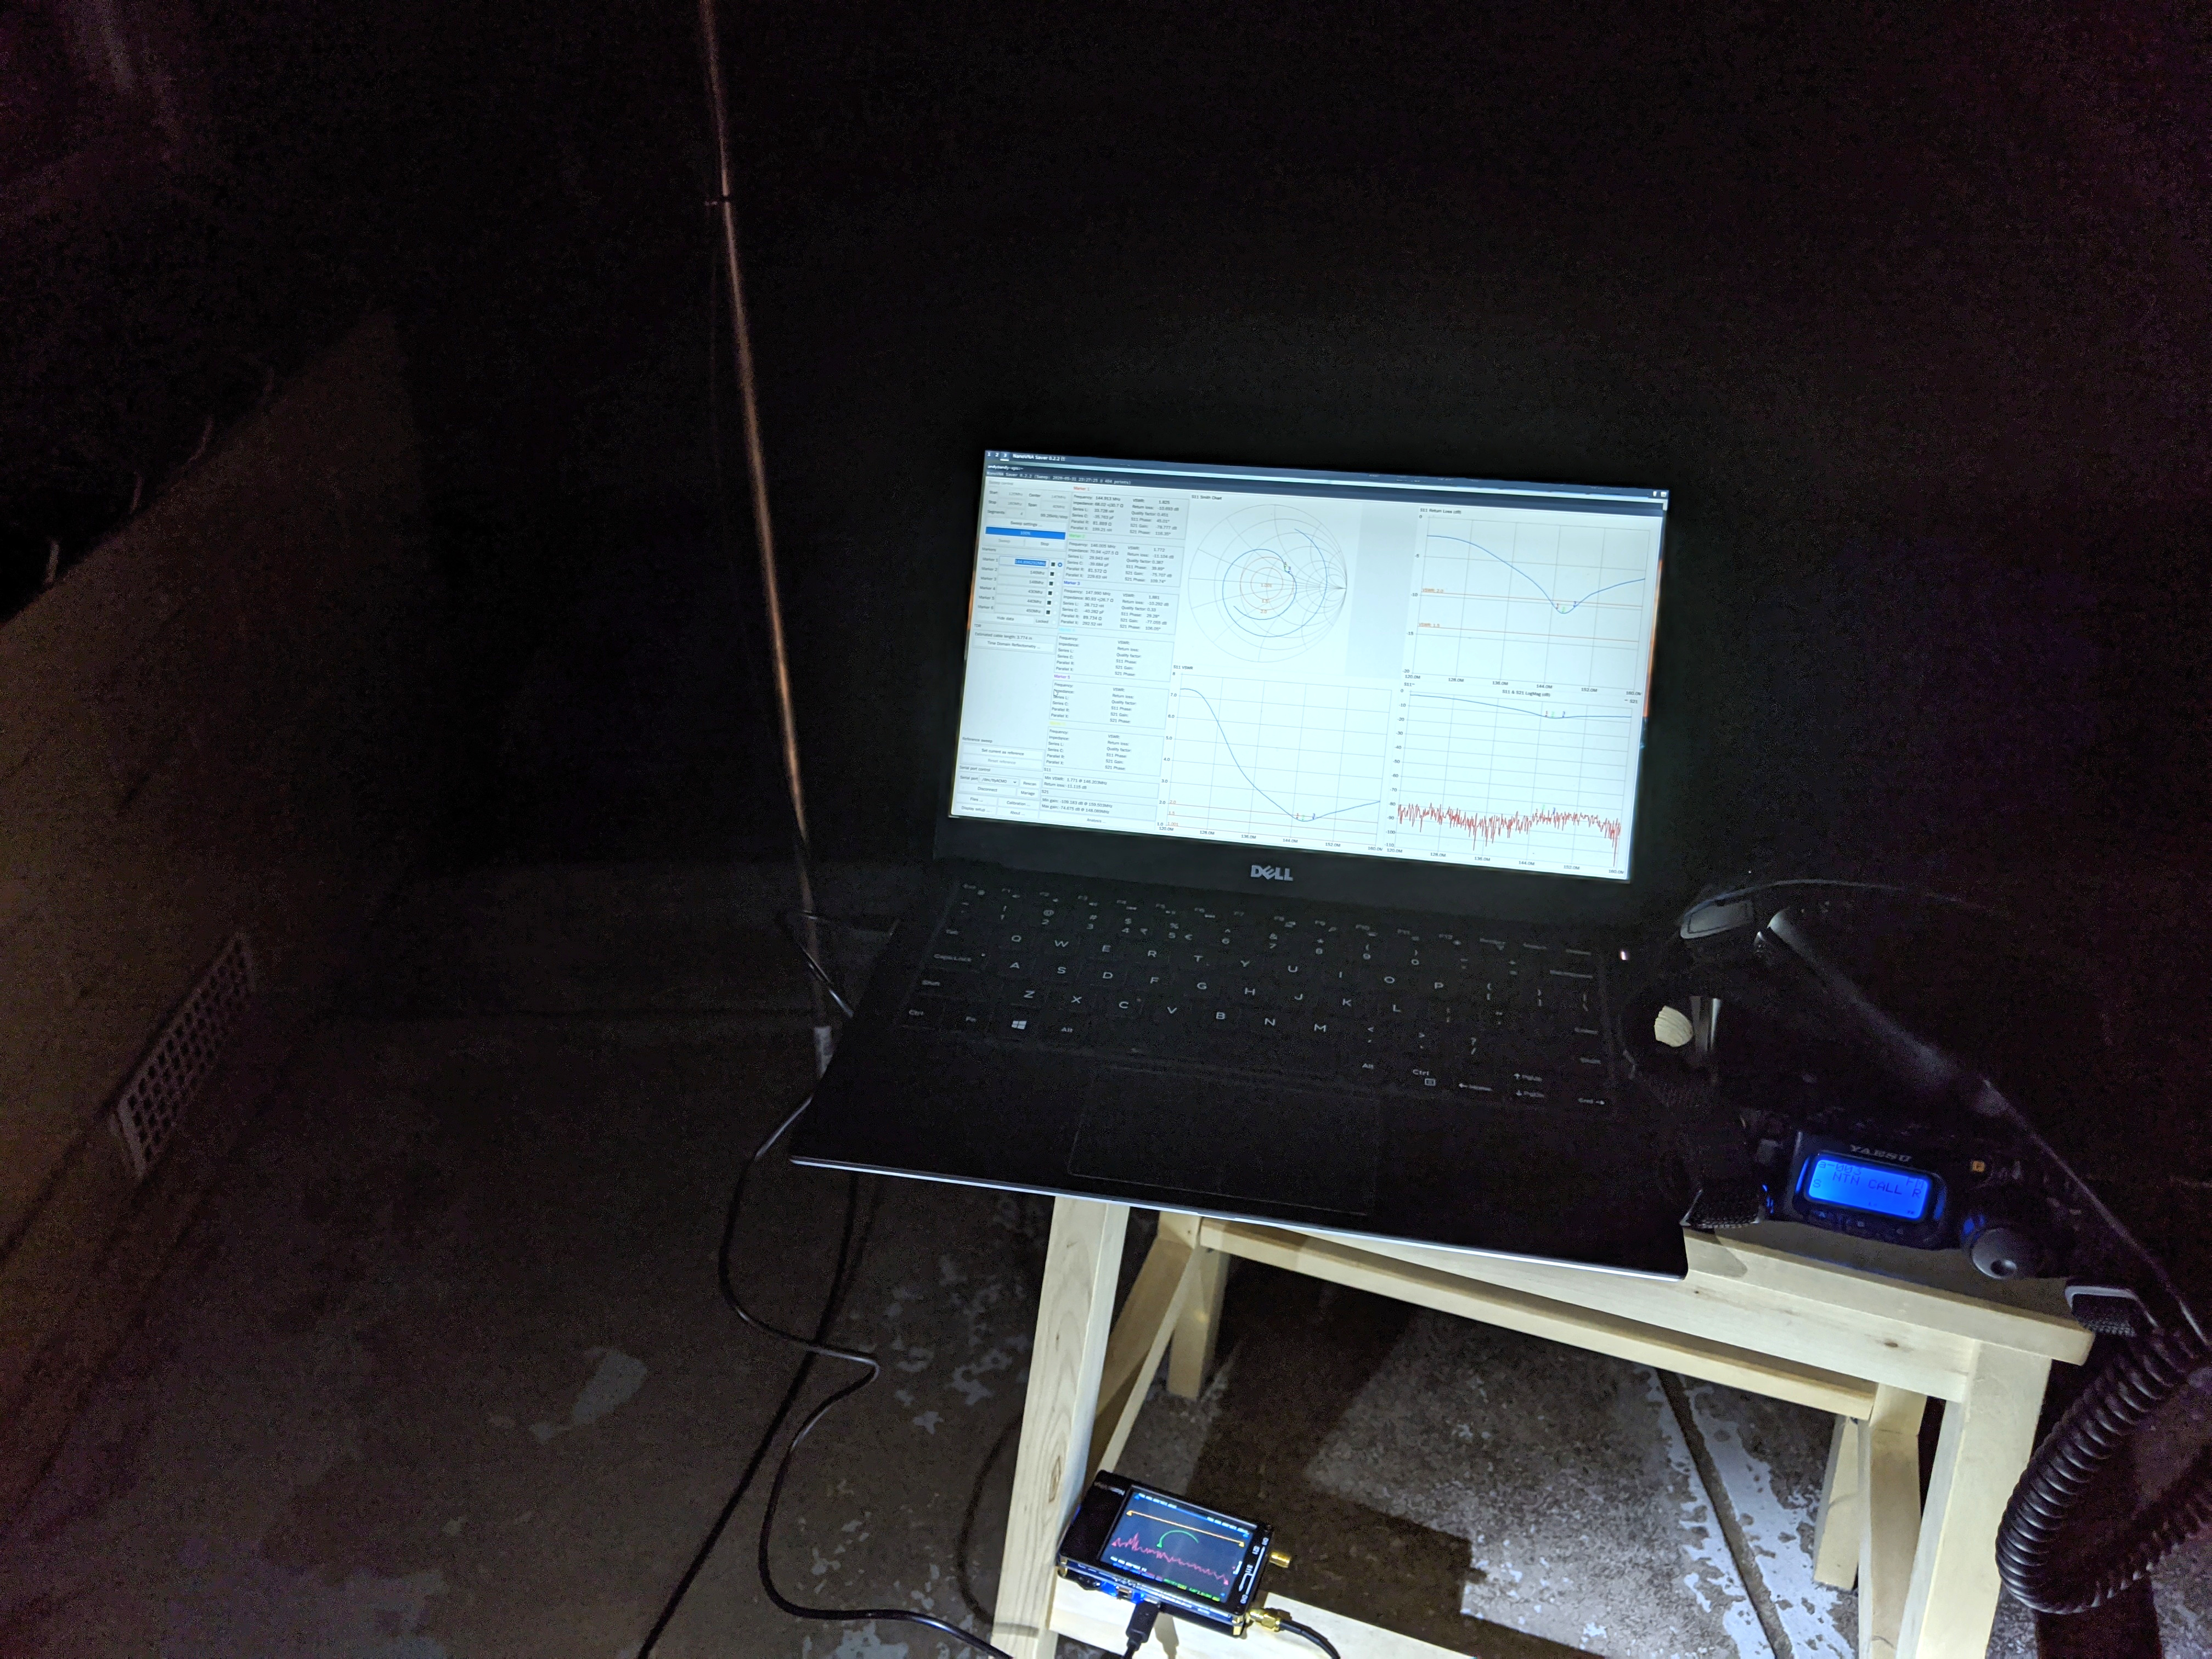
The J-pole is tuned by adjusting the position of the two feed points. With the hose clamps, all I needed to do is sliding both up and down till the best SWR is found. Below is NanoVNA showing a < 2:1 VSWR[5] for the 144 - 148 Mhz range.
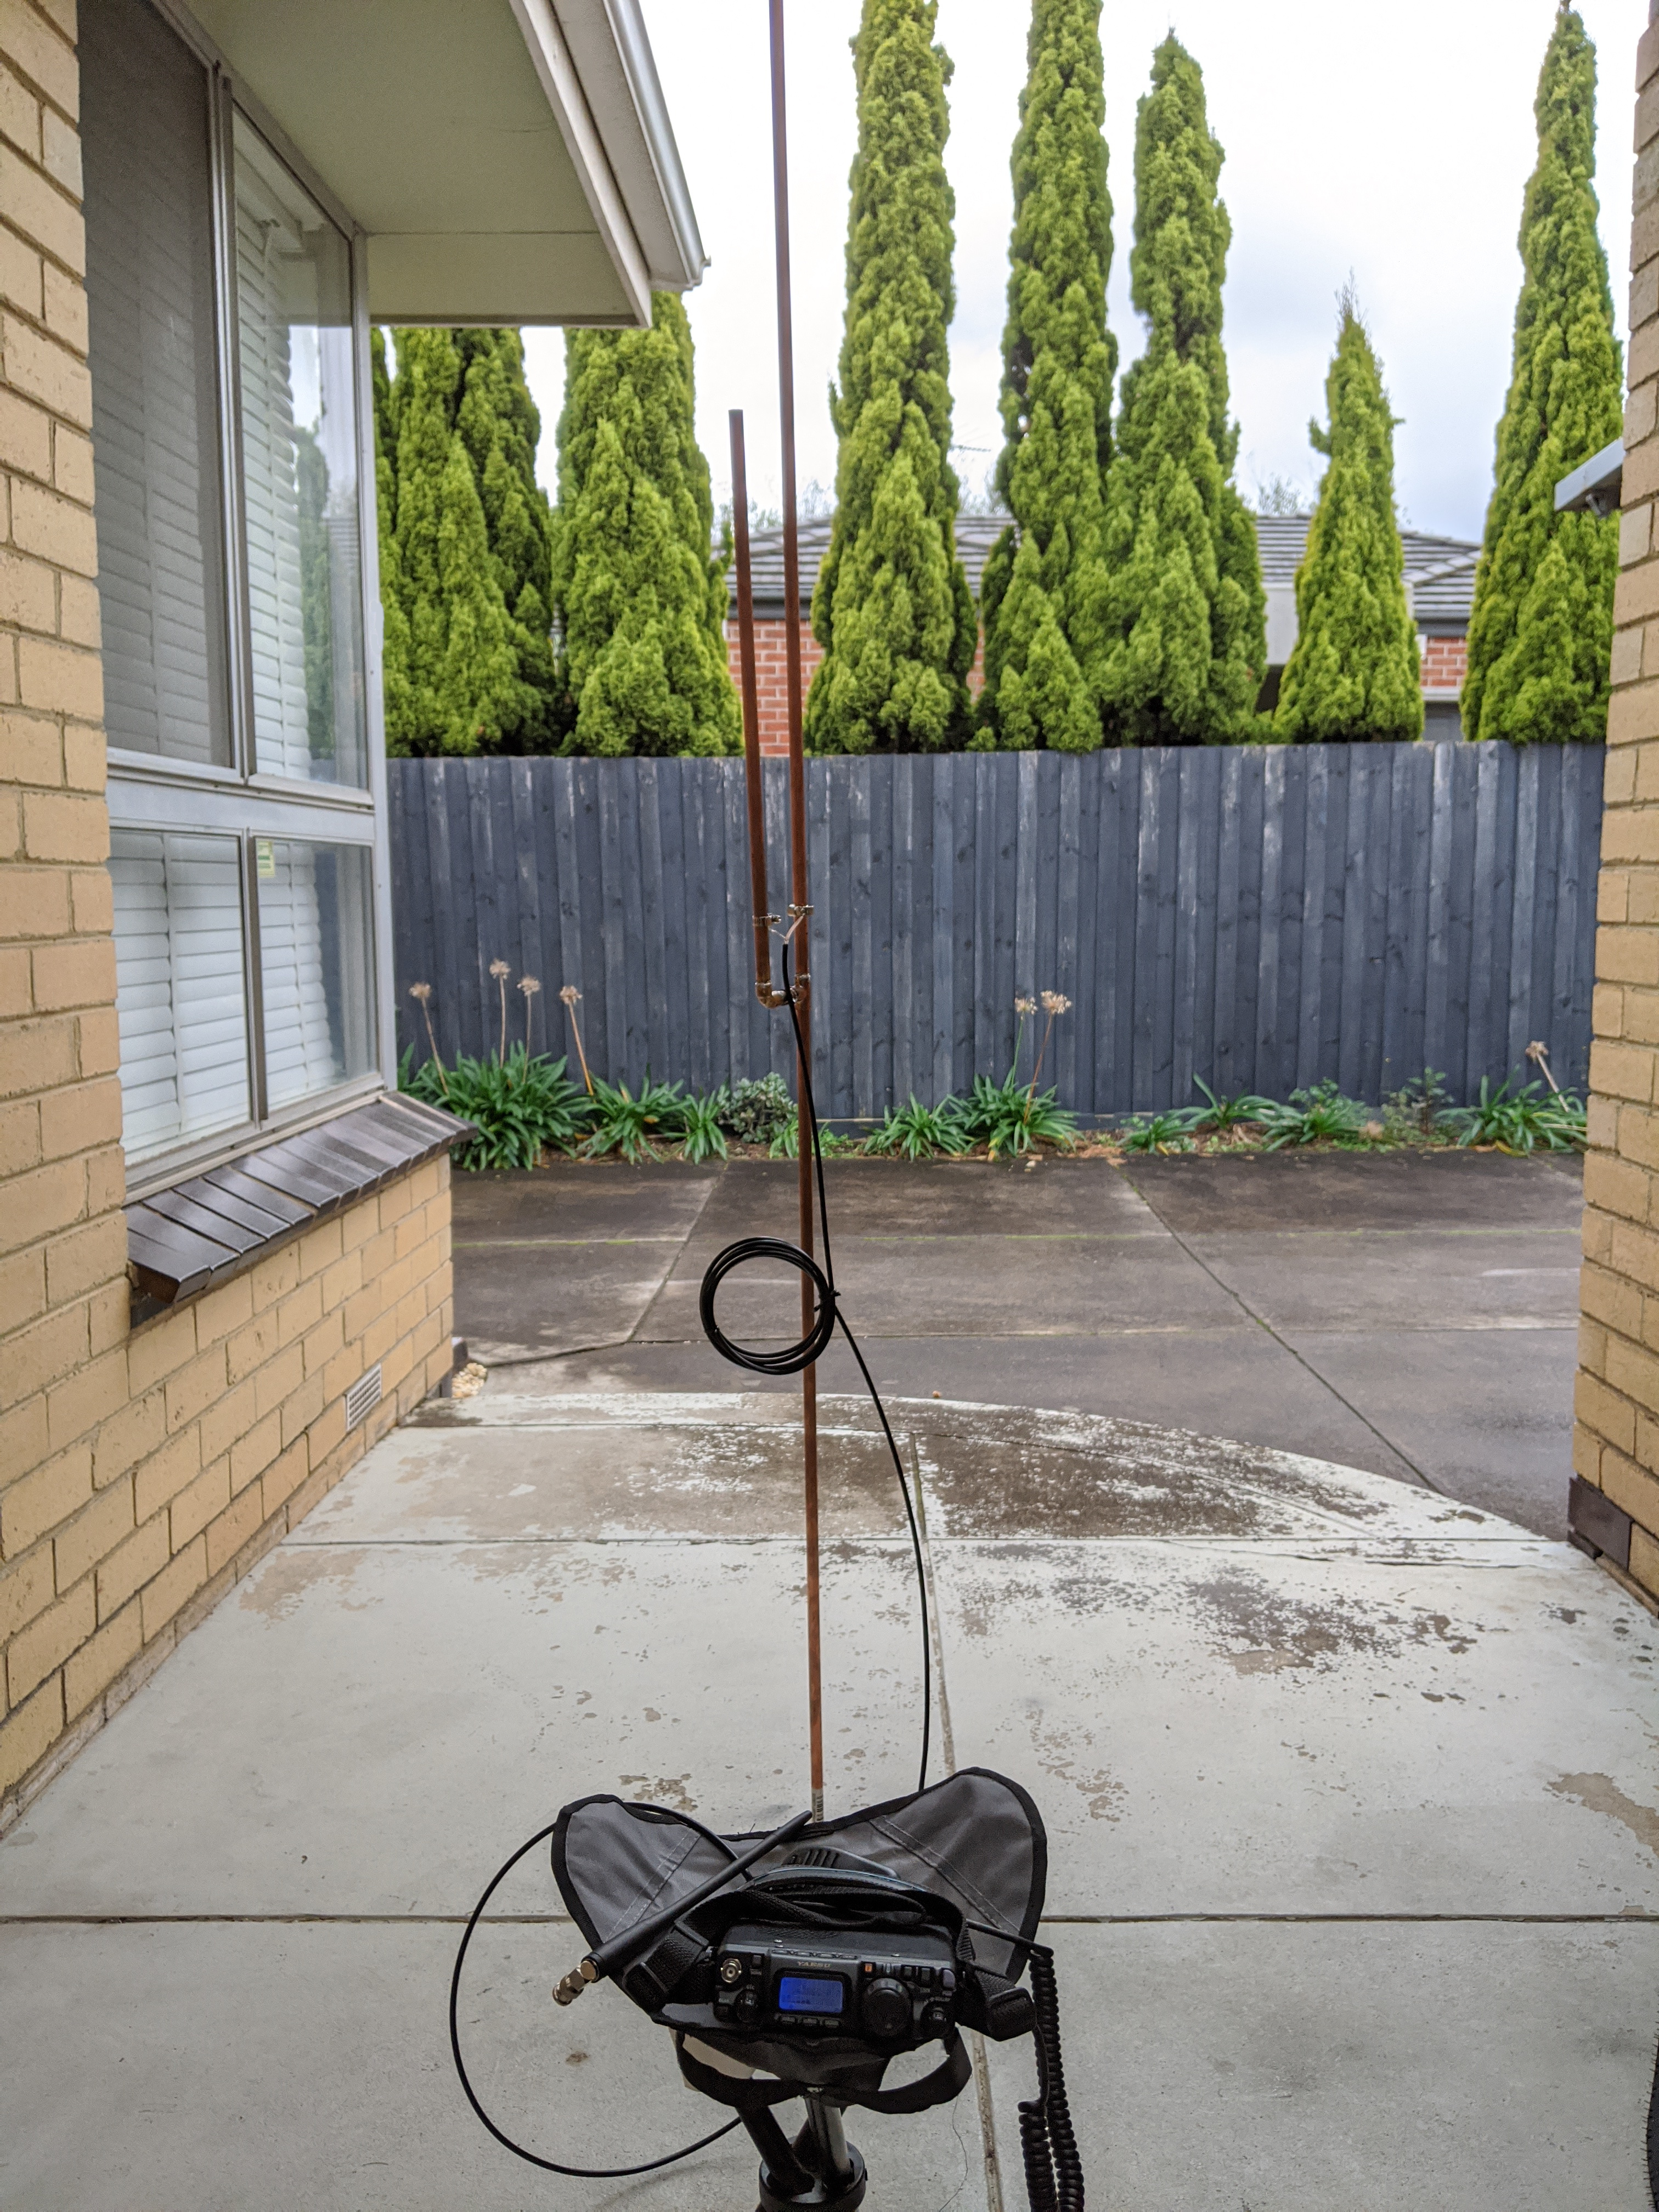
Once the first build was finished, I immediatley mounted it in the gravel outside my porch and started using.
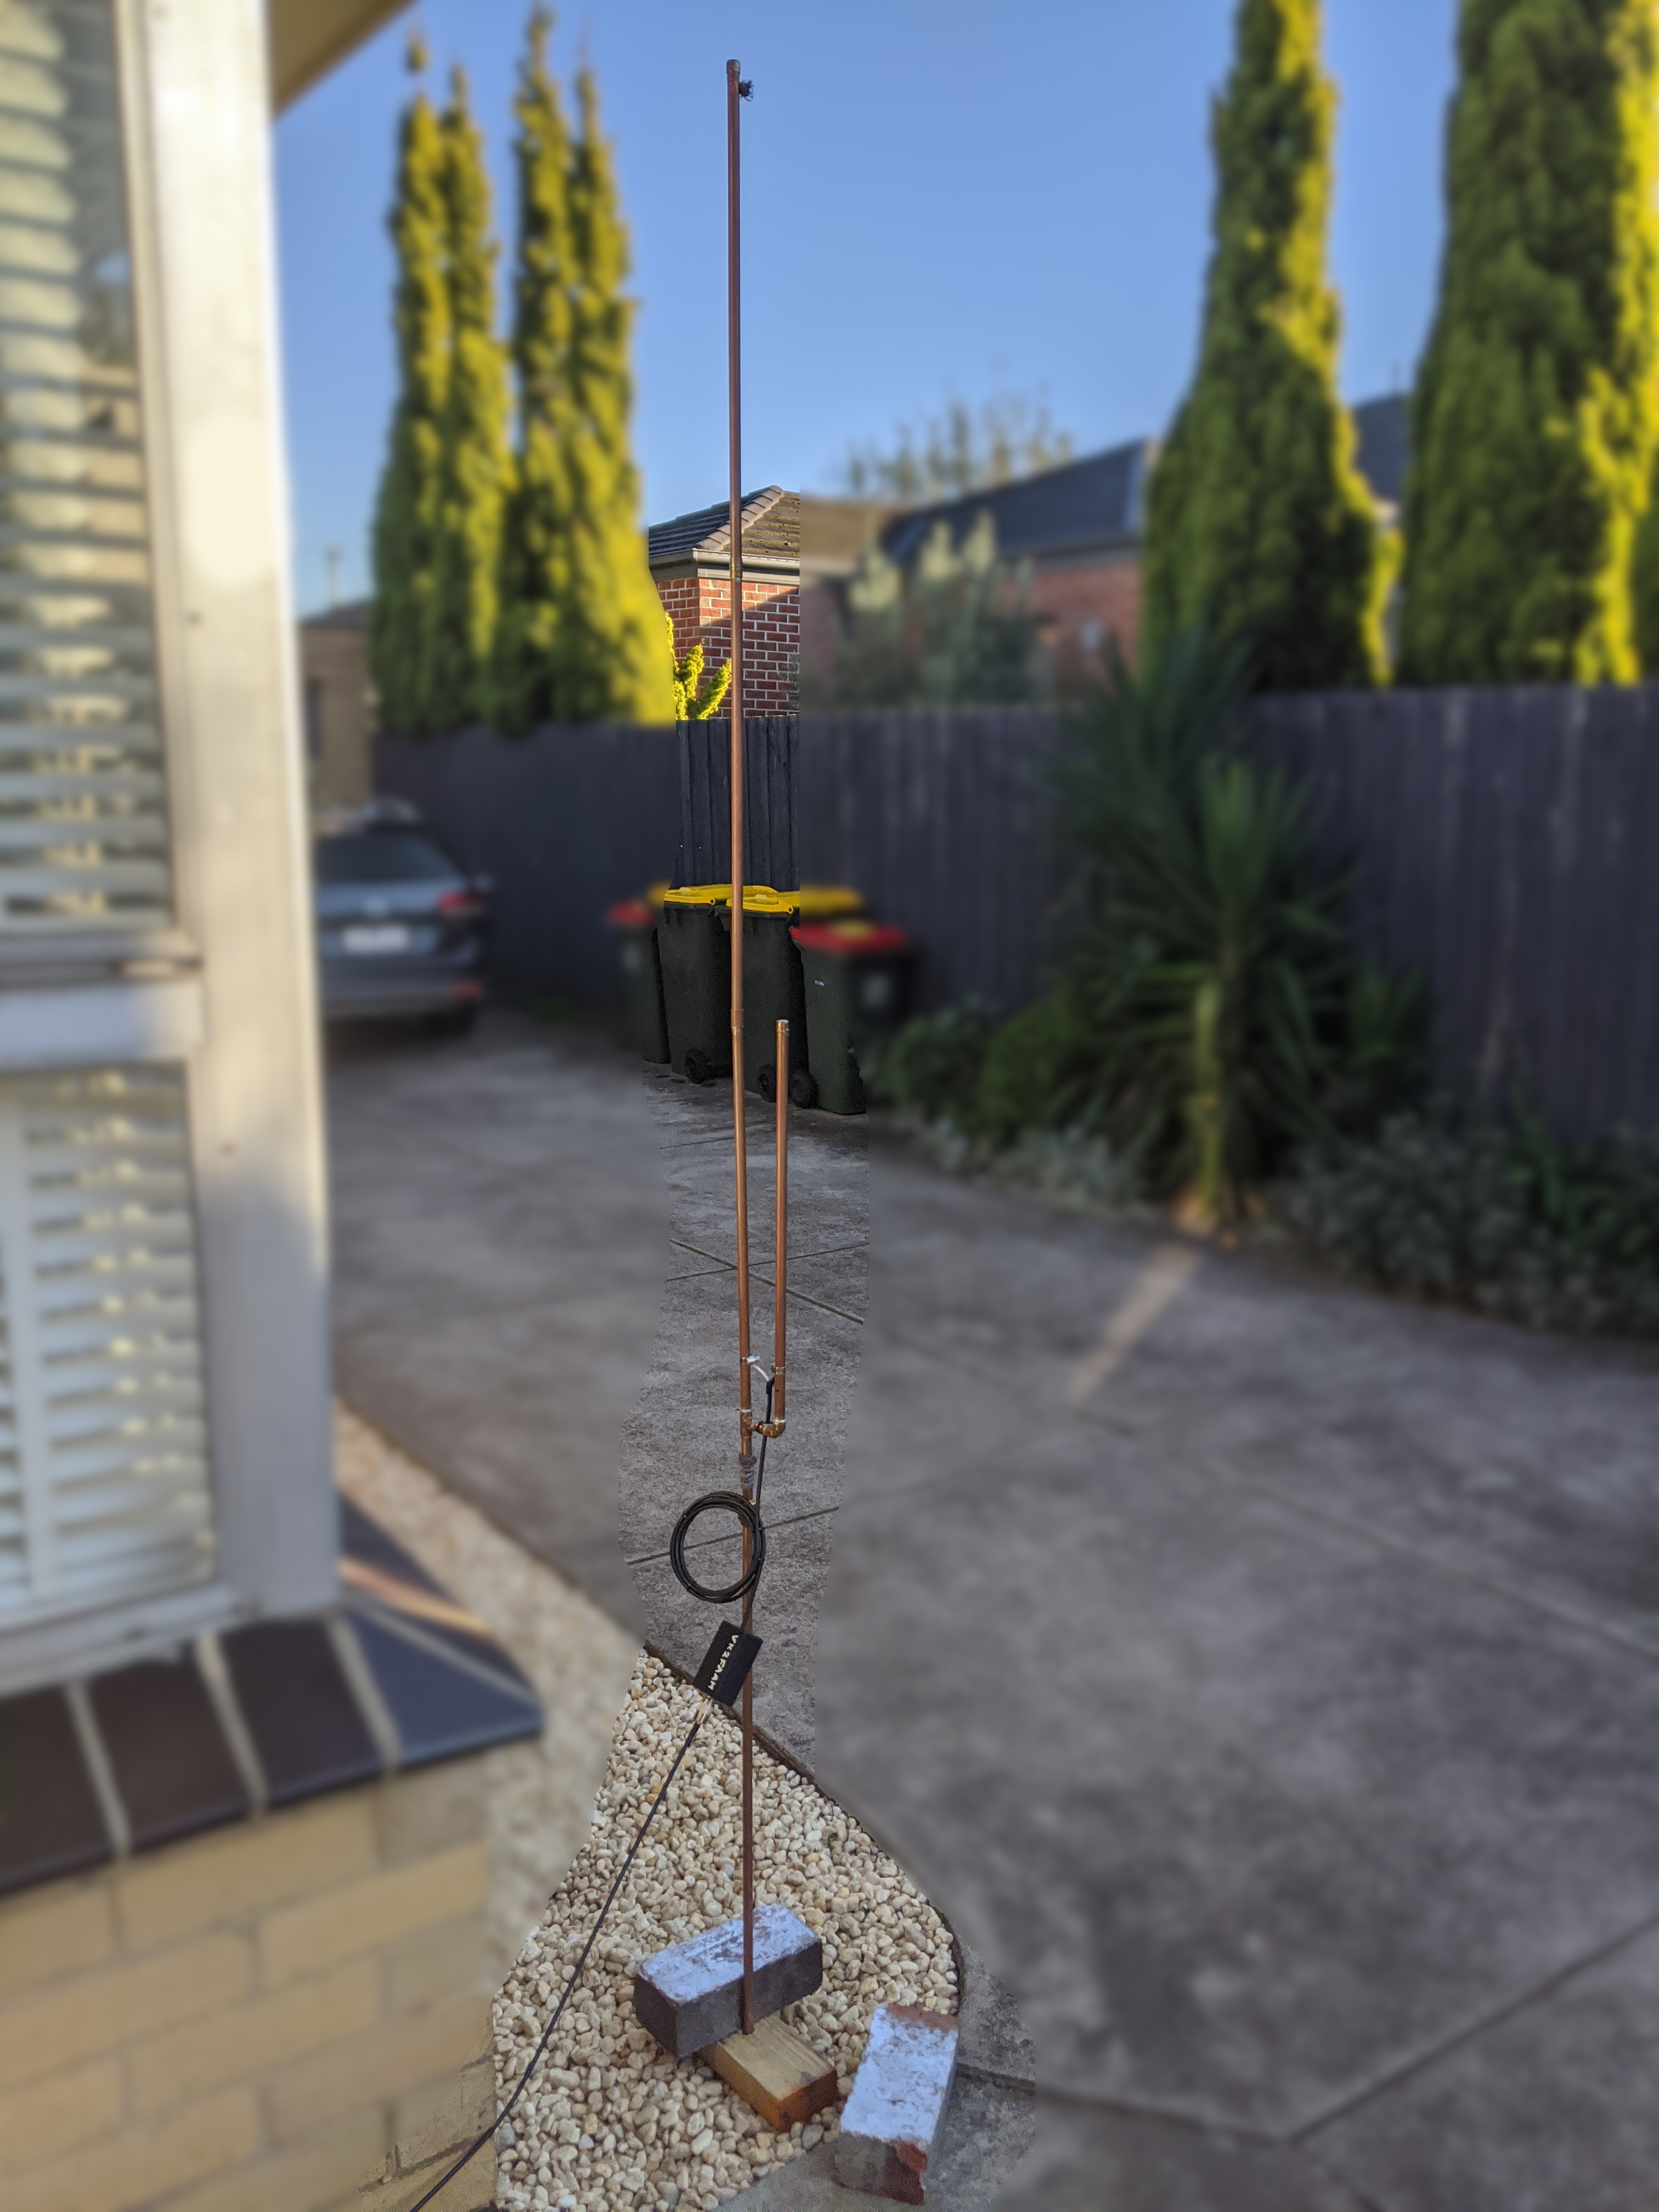
Permanent mounting and some minor adjustments
I later did some minor adjustments to the antenna as well as mounting it on the roof. For adjustments, I replaced the copper straight connectors with brass connectors as mentioned. The antenna mast used I is Antsig Antenna Mast from Bunnings- RRP $27.14 at the time of writing.

What's next?
With this installation, I would definitely need to ground the mast.
Dale Kubichek, N6JSX. The SIMPLE 2m Copper 'J' Antenna ↩︎
Dale Kubichek, N6JSX. The ‘PORTABLE’ or ‘Base’ 2m/70cm Copper-pipe "J" ↩︎ ↩︎
Note: the photoed (preliminary) test was performed without the antenna mounted. ↩︎